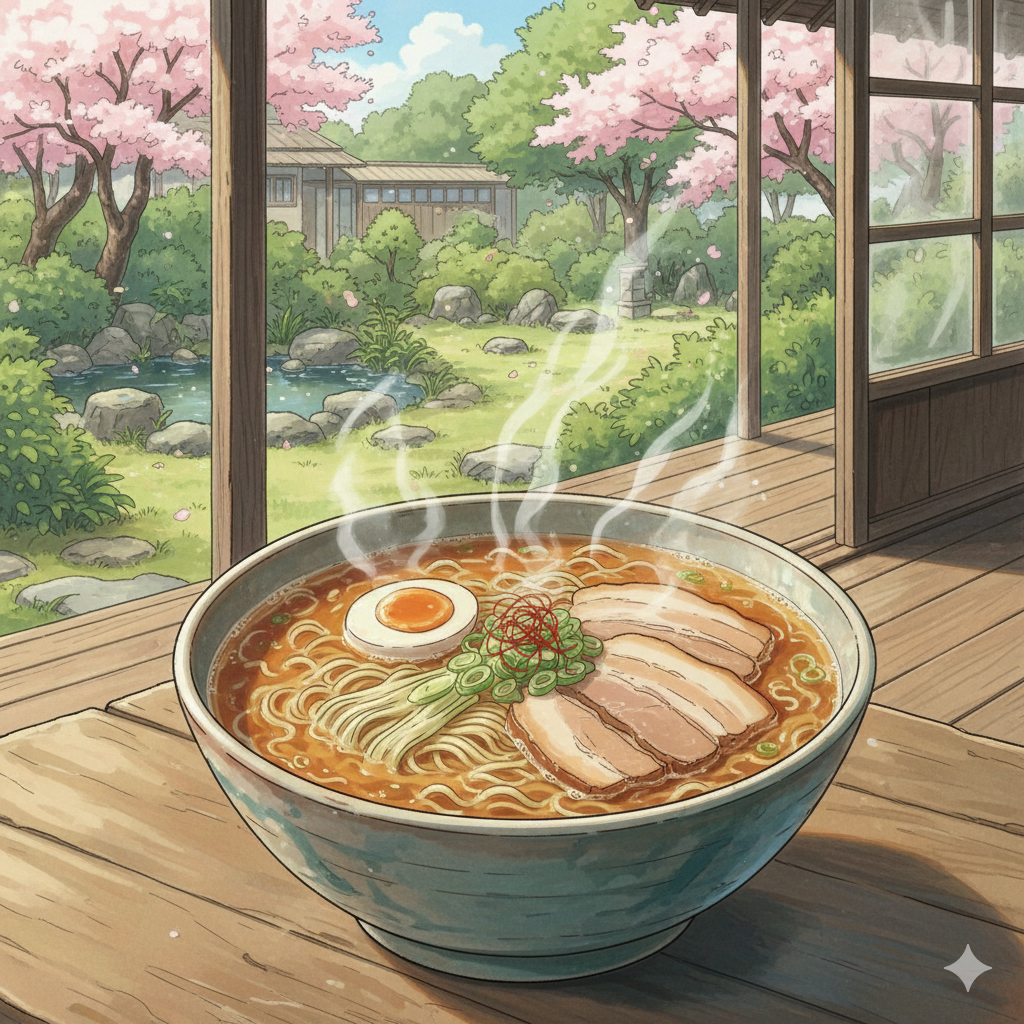
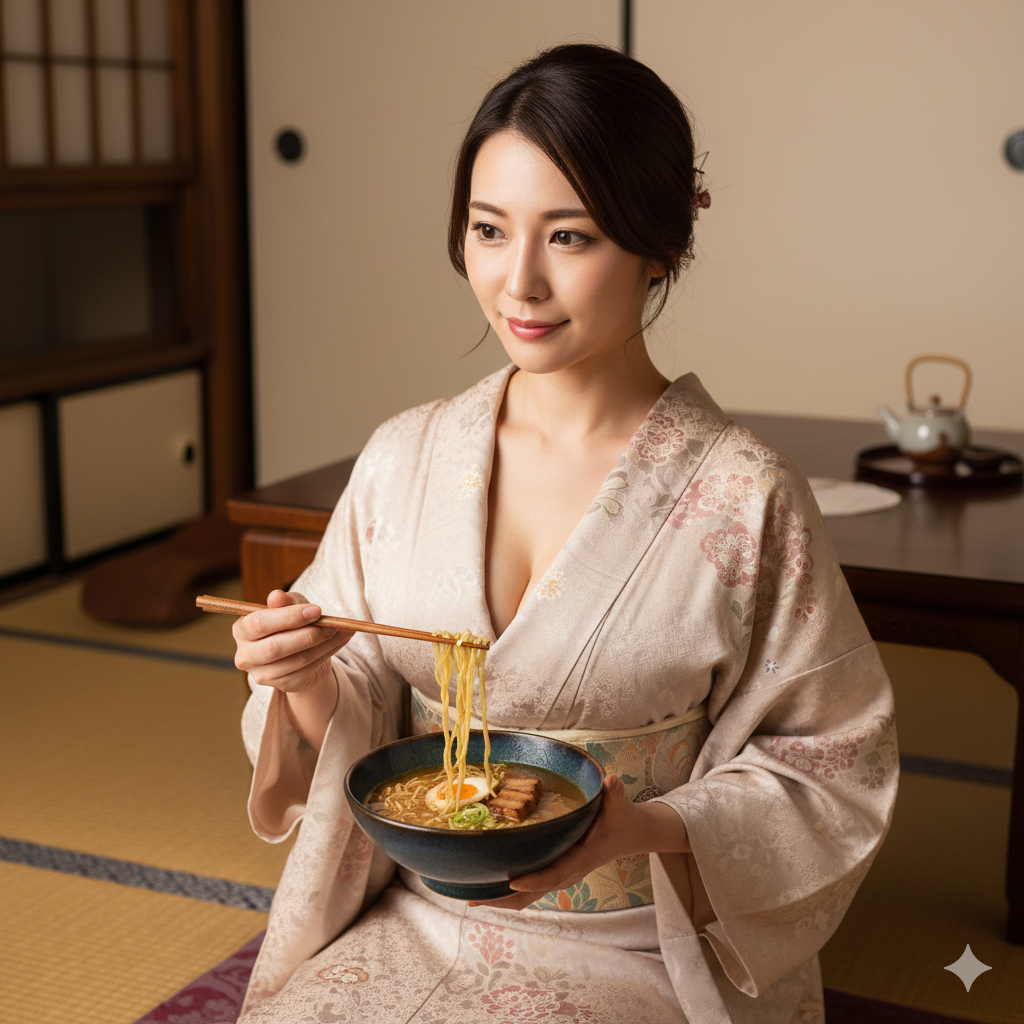
Imagine lifting a spoon of steaming ramen… the aroma hits first — deep, savory, almost hypnotic. One sip, and suddenly you understand why people wait hours in line for a perfect bowl.
Now here’s the twist: you don’t need a ramen shop, a professional kitchen, or years of experience to create that same rich, soul-warming broth at home.
This recipe is designed for complete beginners, yet delivers a flavor that tastes like it simmered in a Tokyo ramen bar for days. Let’s turn your kitchen into your new favorite ramen spot.
At first, I questioned why I should bother making this recipe from scratch when instant seasoning was available. It felt easier to choose convenience. But as I started thinking more seriously about living healthier, I realized that small habits matter.
What is Ramen Broth?
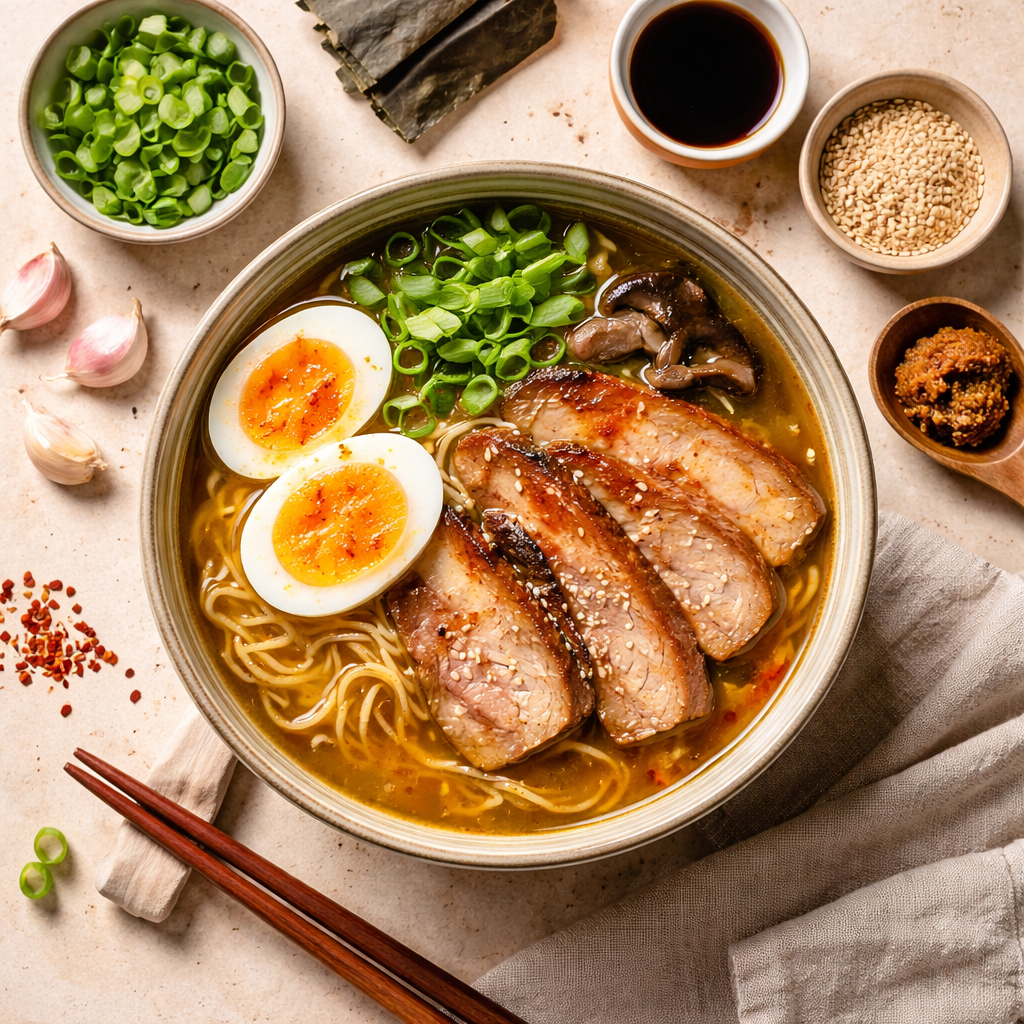
Ramen broth is the **heart and soul of ramen**. Unlike instant noodles, real ramen broth is slow-cooked to extract deep flavors from ingredients like bones, aromatics, and seasonings.
There are several types of ramen broth:
- Shoyu (soy sauce-based) – light but flavorful
- Miso – rich and slightly sweet
- Tonkotsu – creamy and intensely savory
In this recipe, we focus on a beginner-friendly rich broth that balances depth and simplicity, so you get amazing results without complicated steps.
Why You should try this Ramen Broth Recipe?
Because this ramen broth hits different. This recipe gives you deep, slow-built umami flavor without needing a restaurant kitchen or chef-level stress. It’s rich, cozy, and satisfying, yet still flexible enough for your own twists. Moreover, once you master the broth, you unlock endless possibilities. You can switch toppings, noodles, or even make it spicy, while the base stays solid every time.
If you’ve ever thought ramen broth was too hard to make — this is where that belief ends.
This recipe is:
- Designed for first-time cooks
- Uses easy-to-find ingredients
- Doesn’t require professional tools
- Delivers restaurant-level flavor at home
It’s the perfect entry point into homemade ramen — simple, forgiving, and incredibly rewarding.
Why You’ll Love This Recipe
This isn’t just another recipe — it’s a small kitchen victory waiting to happen.
You’ll love it because:
- Deep, rich flavor without complicated techniques
- Flexible cooking time (works even if you’re busy)
- Budget-friendly ingredients
- Beginner-proof steps — no guesswork
- Comfort food at its best
It’s the kind of dish that makes you pause after the first sip and think, “Wait… I made this?”
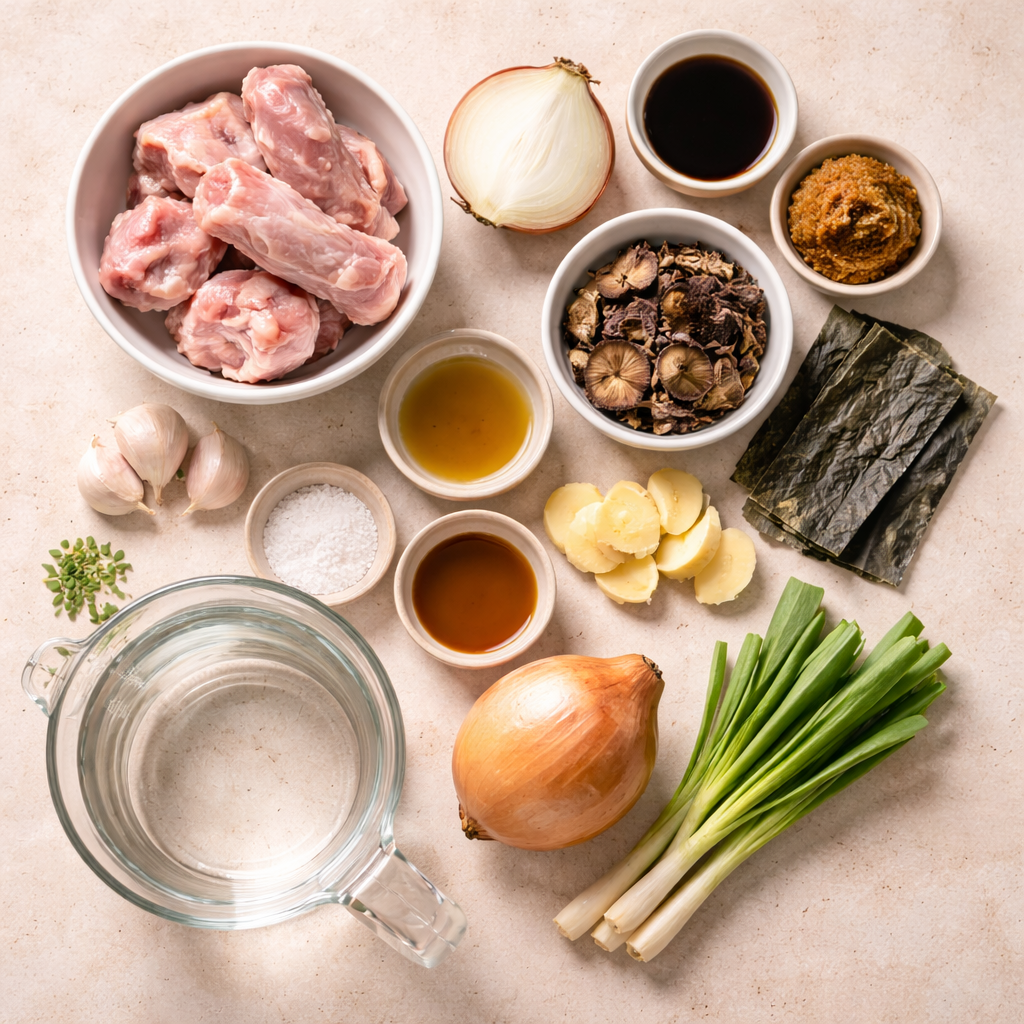
Ingredients
- 1 kg chicken bones (or pork bones for deeper flavor)
- 1 medium onion, halved
- 5 cloves garlic, smashed
- 5 cm ginger, sliced
- 2 dried shiitake mushrooms
- 2 tbsp soy sauce
- 1 tbsp miso paste
- 1 tbsp sesame oil
- salt (adjust to taste)
- 2 liters water
- Optional: kombu (dried seaweed) for extra umami
Tools
- Large pot or stockpot
- Fine mesh strainer
- Sharp knife
- Cutting board
- Ladle
- Measuring spoons
How To Make it Step by Step

- First, rinse the bones thoroughly to remove impurities. This simple prep step sets the foundation for a clean, flavorful broth.
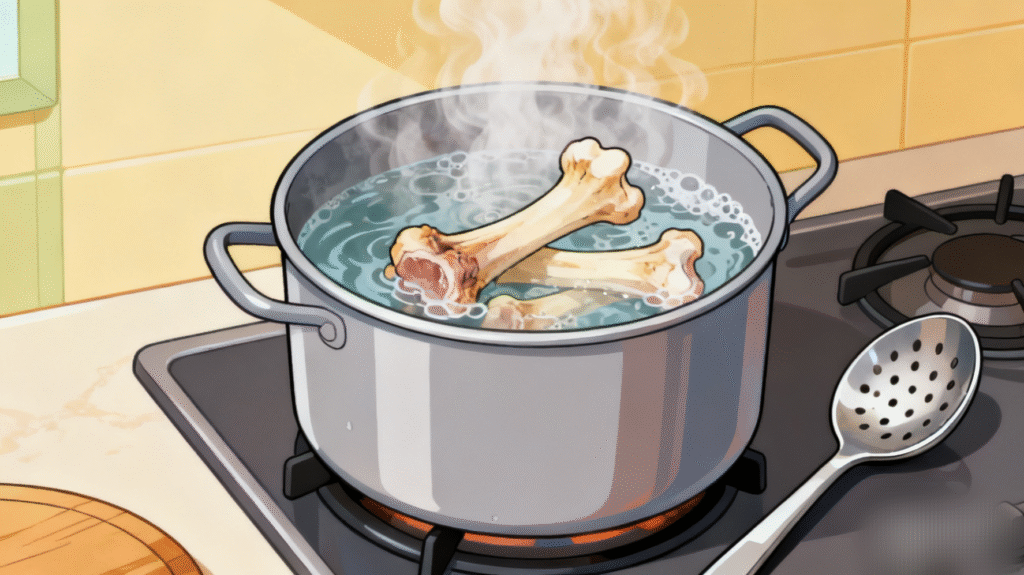
- Then, blanch the bones in boiling water for 5 minutes and discard the water.
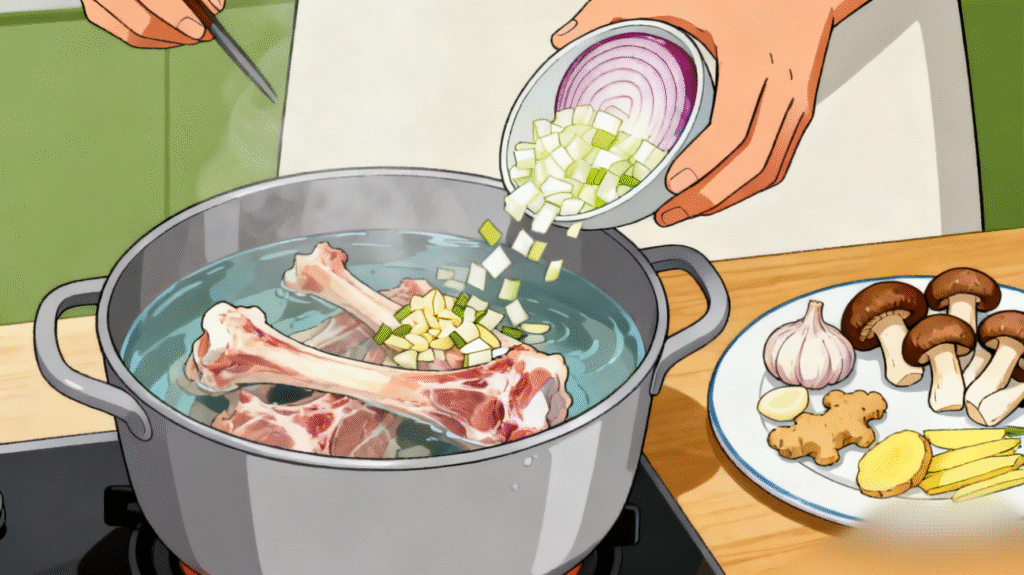
- Add onion, garlic, ginger, and dried shiitake mushrooms.
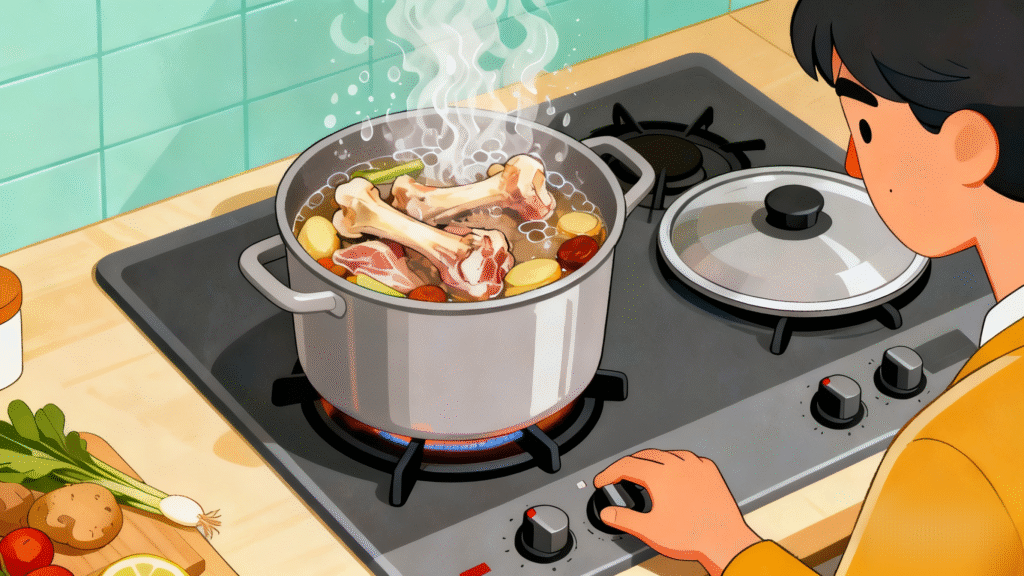
- Let it simmer gently for 2–4 hours. Keep the heat low and steady — not a rapid boil. This is where the magic happens. The longer it simmers, the deeper the flavor becomes.

- Meanwhile, skim off any foam that rises to keep the broth clean.
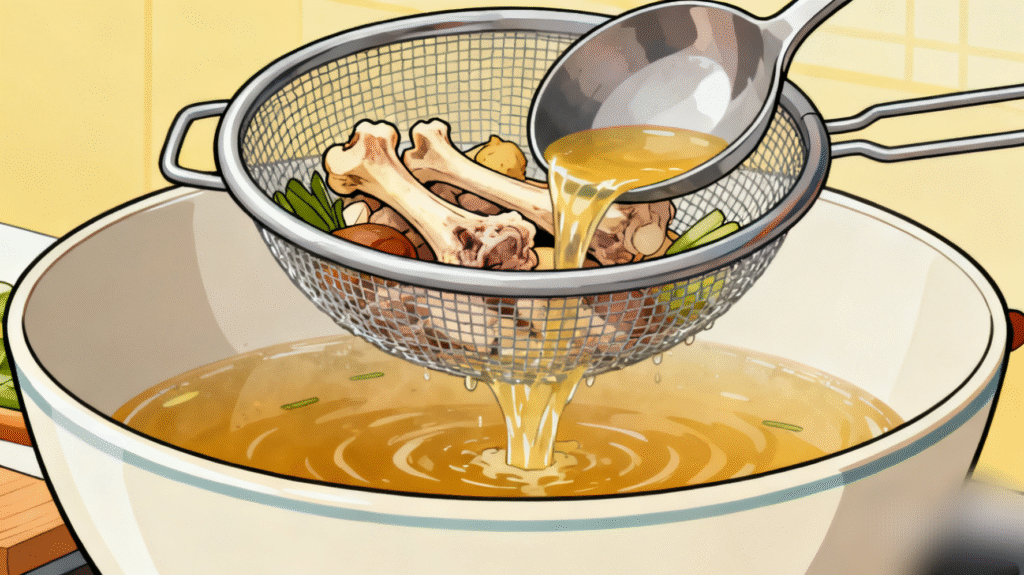
- Once rich and fragrant, strain the broth into a clean pot.
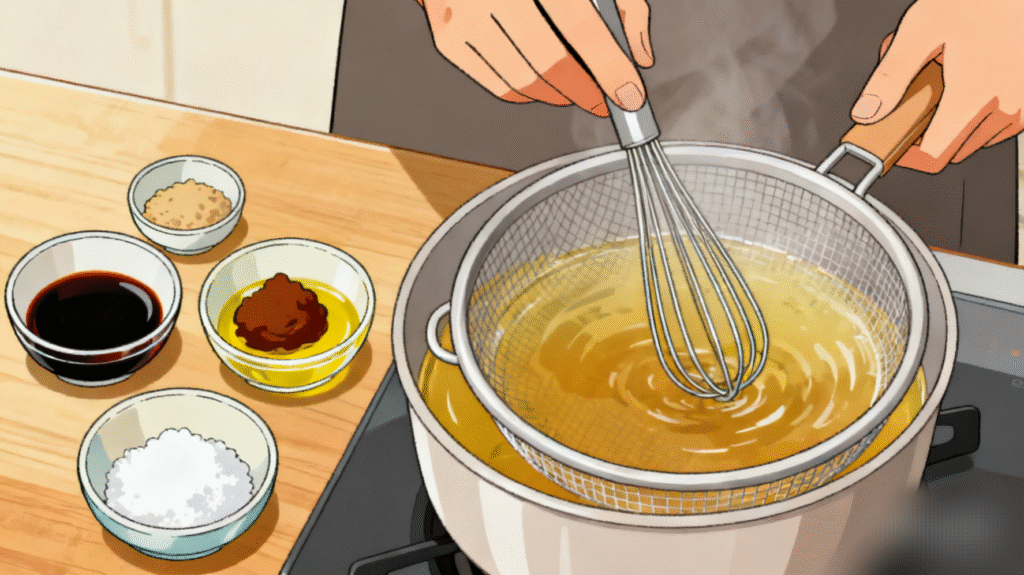
- Stir in soy sauce, miso paste, sesame oil, and salt. Measure out the exact amount according to the recipe to avoid overdoing it. You can add more after tasting if it’s not enough.

- Finally, taste and adjust seasoning before serving.
Pro Tips
- Keep the heat low — high heat can ruin the clarity and flavor
- Season gradually, not all at once
- Longer simmer = deeper taste (but even 2 hours works!)
- Always taste before serving (I do this often because I like the rich flavor, so I don’t overdo or underuse it)
- balance is key
Variations
Want to experiment? Try these easy twists:
- Spicy Ramen → Add chili oil or fresh chili
- Garlic Boost → Double the garlic for stronger flavor
- Creamy Style → Simmer longer for a richer texture
- Vegetarian Option → Replace bones with mushrooms & kombu
Each version gives your broth a unique personality.
Nutrition Value
(Approximate values per serving)
- Calories: 180 kcal
- Sugar: 2 g
- Salt (Sodium): 820 mg
- Carbohydrates: 6 g
- Protein: 14 g
- Calcium: 40 mg
- Fiber: 1 g
✔ High in collagen (from bones)
✔ Comforting and relatively light

FAQs
Can I make this faster?
Yes, but flavor improves with time. Minimum 2 hours recommended.
Can I freeze ramen broth?
Absolutely! Store in portions for up to 1 month.
What if I don’t have miso?
No problem. The broth will still taste great with soy sauce alone.
Can I make this vegetarian?
Yes, absolutely. Replace bones with kombu and more shiitake mushrooms for a plant-based umami boost.
Can I use this for other dishes?
Definitely. This broth works great for udon, soups, or even risotto.
Common Mistake
- Skipping the blanching step
If you don’t blanch the bones first, the broth can turn cloudy and develop an off taste. Therefore, always remove impurities early for a cleaner flavor. - Boiling too aggressively
A hard boil might seem faster; however, it actually ruins texture and clarity. Gentle simmering builds depth without making the broth muddy. - Under-seasoning at the end
Many people forget to adjust seasoning after straining. Since flavors concentrate differently, always taste and tweak with soy sauce or salt before serving. - Rushing the simmering time
Great ramen broth is not instant magic. Because collagen and flavor need time to release, cutting the cooking time short results in a flat, weak broth. - Adding kombu during a rolling boil
If kombu is boiled too long, it can become bitter. Instead, add it toward the end and steep gently for balanced umami.
Avoid these mistakes, and your ramen broth will taste rich, clean, and seriously next level.
How to Store
Allow the broth to cool completely. Then, store it in an airtight container in the fridge for up to 4 days. Alternatively, freeze it for up to 3 months for future ramen cravings.
“I am someone who prefers simplicity. Even when a recipe is easy, I like to make it even more practical. That is why I usually prepare the broth in large batches. Once it cools, I divide it into half-kilogram portions, seal them tightly in plastic bags, and store them in the freezer.
When I want to enjoy ramen, I simply boil fresh noodles, take one portion of broth from the freezer, and reheat it. After the noodles are cooked, I combine them with the hot broth. In just a few minutes, I have a homemade bowl of ramen that suits my own taste.”
Conclusion
Making ramen broth at home might sound intimidating — but now you know it’s completely doable.
This recipe proves that with simple ingredients and a little patience, you can create something deeply satisfying and restaurant-worthy.
And honestly? The first sip makes it all worth it.

Keyword : ramen broth recipe, homemade ramen broth, easy ramen broth recipe
Asian bread Breakfast Cheese Cold Dessert Detox Diet Dinner Drinks Easy food Halal Healthy homemade hot Italian Japanese K-Food Low Calory Meal Noodle Omelette Pasta Popular Ramen Simple snacks Soup Street Food Sweet Thai Tiktok viral