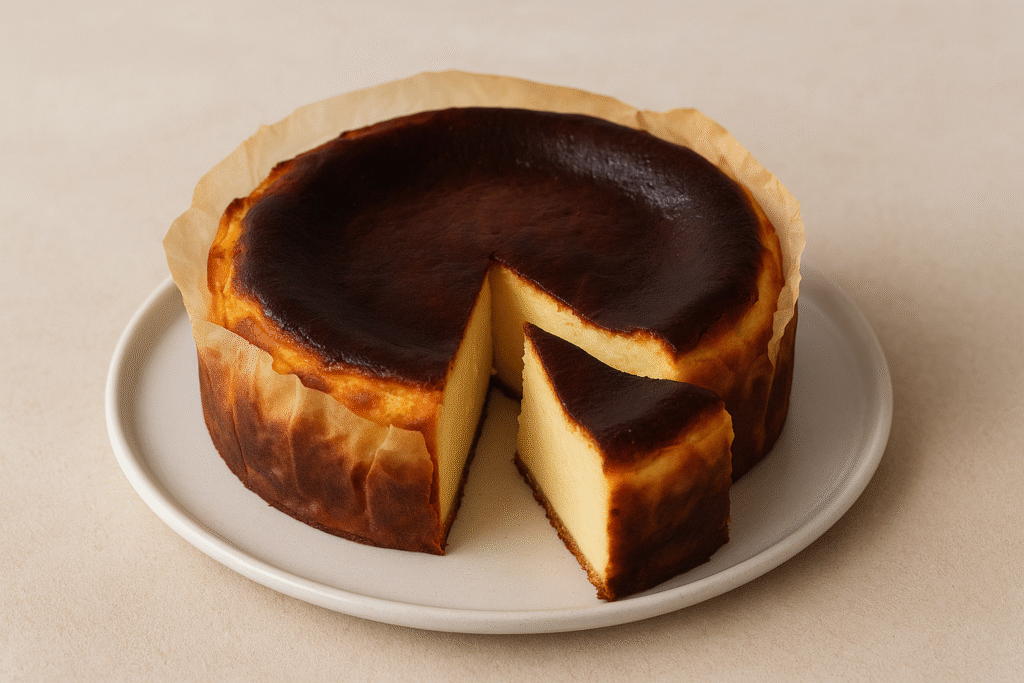
The name “Burnt Cheesecake” sounded strange to me at first. Honestly, it sounded more like a baking mistake than a dessert. If a cake is burnt, isn’t that usually considered a failure?
But when I saw how popular it had become, I couldn’t help but get curious. Was it really just an overbaked cheesecake, or was it something completely different? So, I decided to try making it myself and find out whether this viral dessert was truly a happy accident or an entirely new flavor born from an unexpected baking “mistake.”
When I first made Burnt Cheesecake, the preparation felt very similar to making a traditional cheesecake. The real difference came during baking. While a regular cheesecake is usually baked at a lower temperature for 40 to 60 minutes, Burnt Cheesecake is baked at a much higher temperature, around 220°C (425°F), for a shorter time.
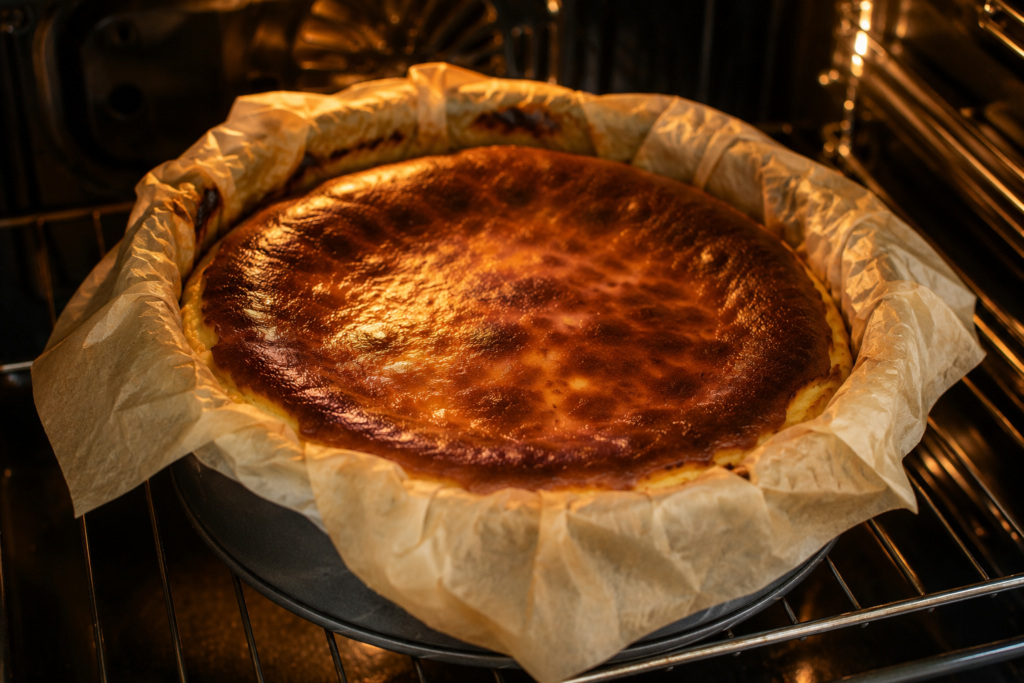
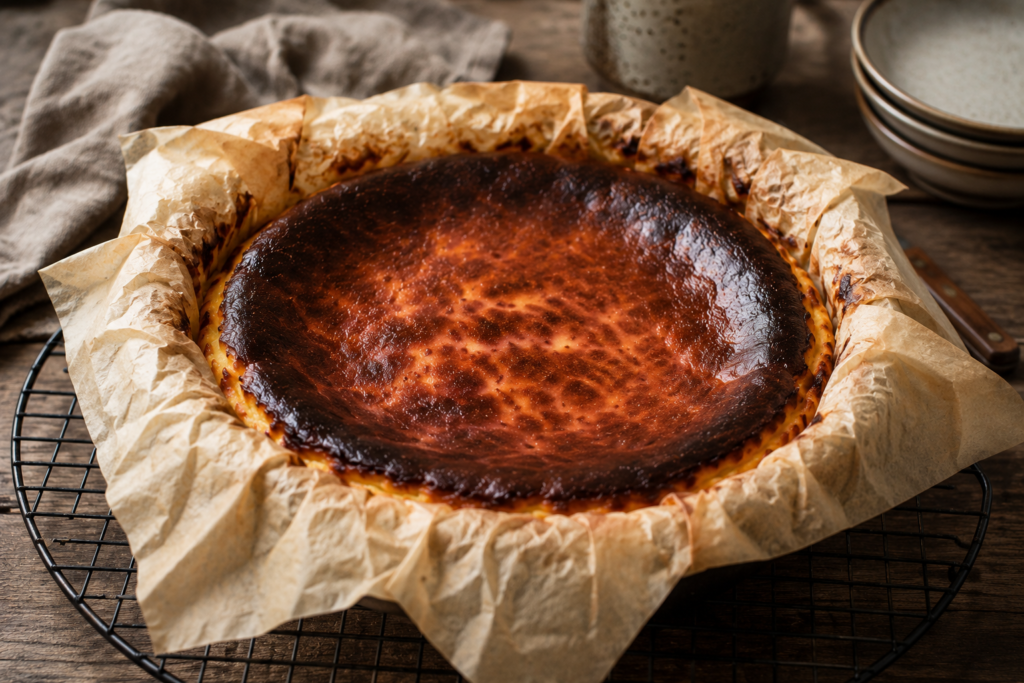
As I watched the top turn dark and caramelized in the oven, I finally understood why it’s called Burnt Cheesecake. What initially looked like a baking mistake was actually the secret behind its rich flavor, creamy center, and signature appearance.
If you’re looking for a foolproof dessert that looks bakery-worthy without requiring advanced baking skills, this Basque Burnt Cheesecake recipe is exactly what you need.
What is Basque Burnt Cheesecake
Basque Burnt Cheesecake, also known as San Sebastian Cheesecake, originated in the Basque region of Spain. Unlike classic New York cheesecake, this version intentionally features a deeply caramelized, almost burnt surface.
Its rustic appearance is part of its charm. There is no need for a water bath, crust, or perfectly smooth top. Instead, the cheesecake develops a dark golden exterior while remaining incredibly creamy and custardy inside.
Today, Basque Burnt Cheesecake has become a global dessert sensation thanks to social media and specialty bakeries around the world.
Why You Should Try This Recipe
There are countless cheesecake recipes online, but this one stands out for several reasons:
- Requires only a handful of simple ingredients.
- No complicated techniques or water bath needed.
- Perfect for beginner bakers.
- Rich, creamy, and beautifully caramelized.
- Looks impressive despite minimal effort.
- Great for holidays, celebrations, or everyday indulgence.
If you’ve always been intimidated by making cheesecake, this recipe is the perfect place to start.
Why You’ll Love This Recipe
- Beginner-friendly: No special baking skills required.
- Incredibly creamy: The center remains soft and luscious.
- Minimal ingredients: Most ingredients are pantry staples.
- Naturally rustic: Imperfections actually make it look better.
- Perfect make-ahead dessert: Tastes even better after chilling overnight.
- Instagram-worthy: That signature burnt top creates a stunning presentation.
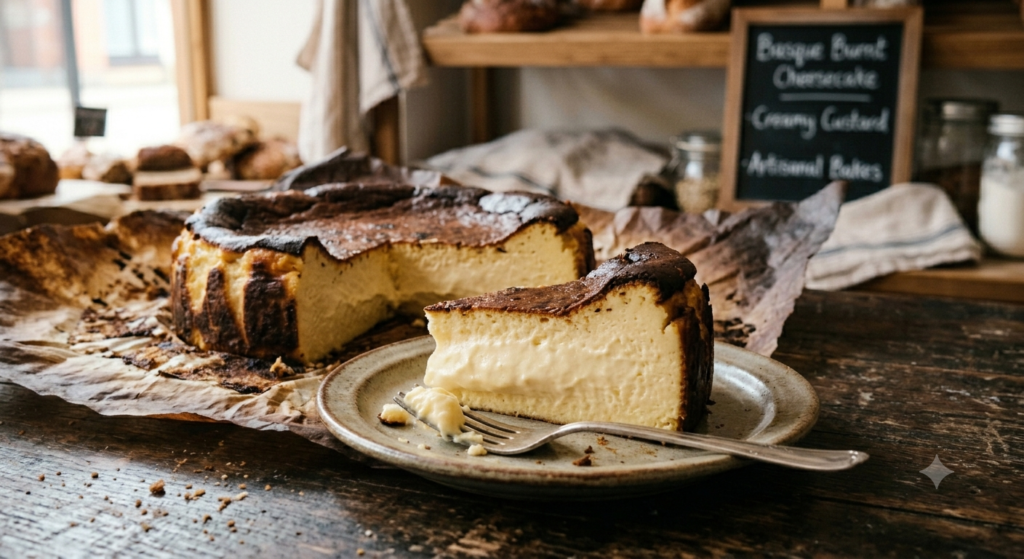
Ingredients
- Makes: 8 servings
- 450 g cream cheese, softened
- 200 g granulated sugar
- 3 large eggs
- 250 ml heavy cream
- 1 tablespoon all-purpose flour
- 1 teaspoon vanilla extract
- A pinch of salt
Tools
- 8-inch (20 cm) cake pan
- Parchment paper
- Large mixing bowl
- Hand mixer or stand mixer
- Whisk
- Rubber spatula
- Measuring cups and spoons
- Cooling rack
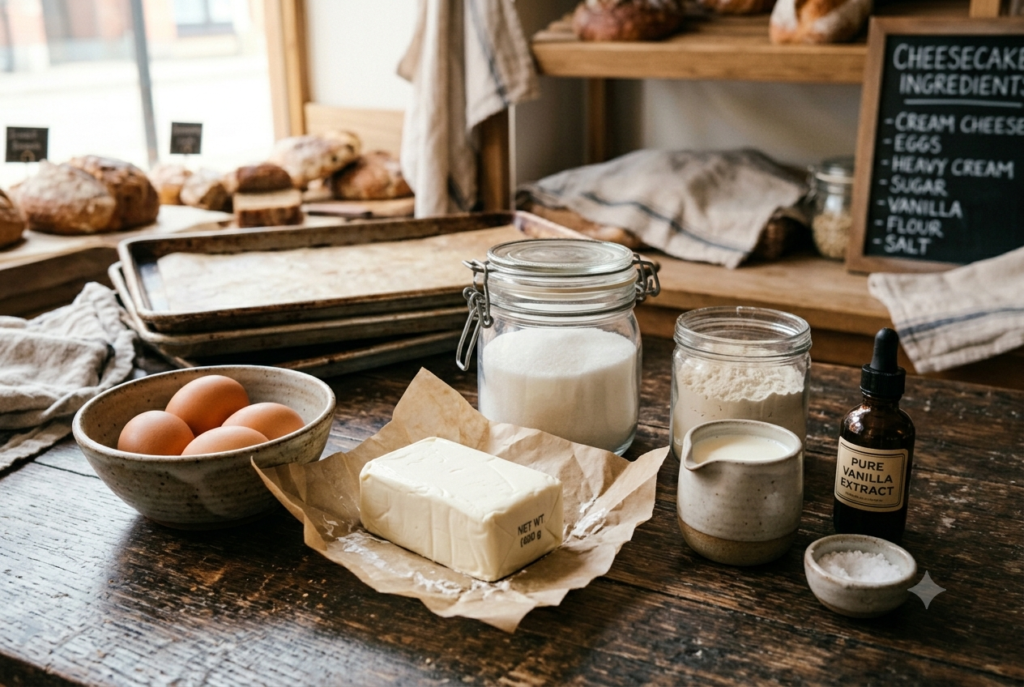
How To Make it Step by Step
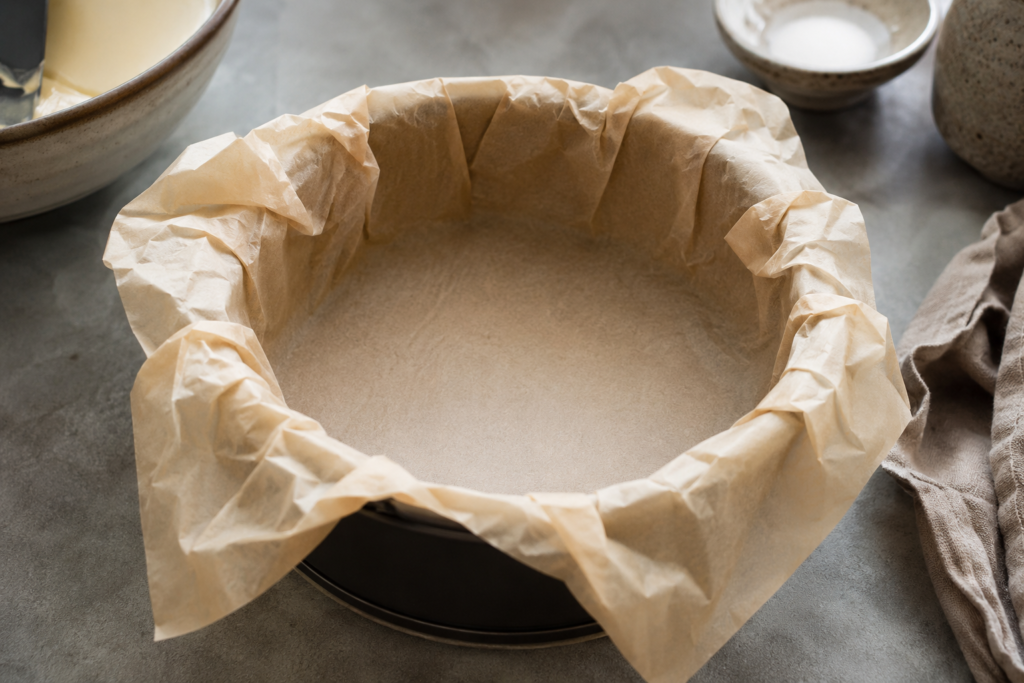
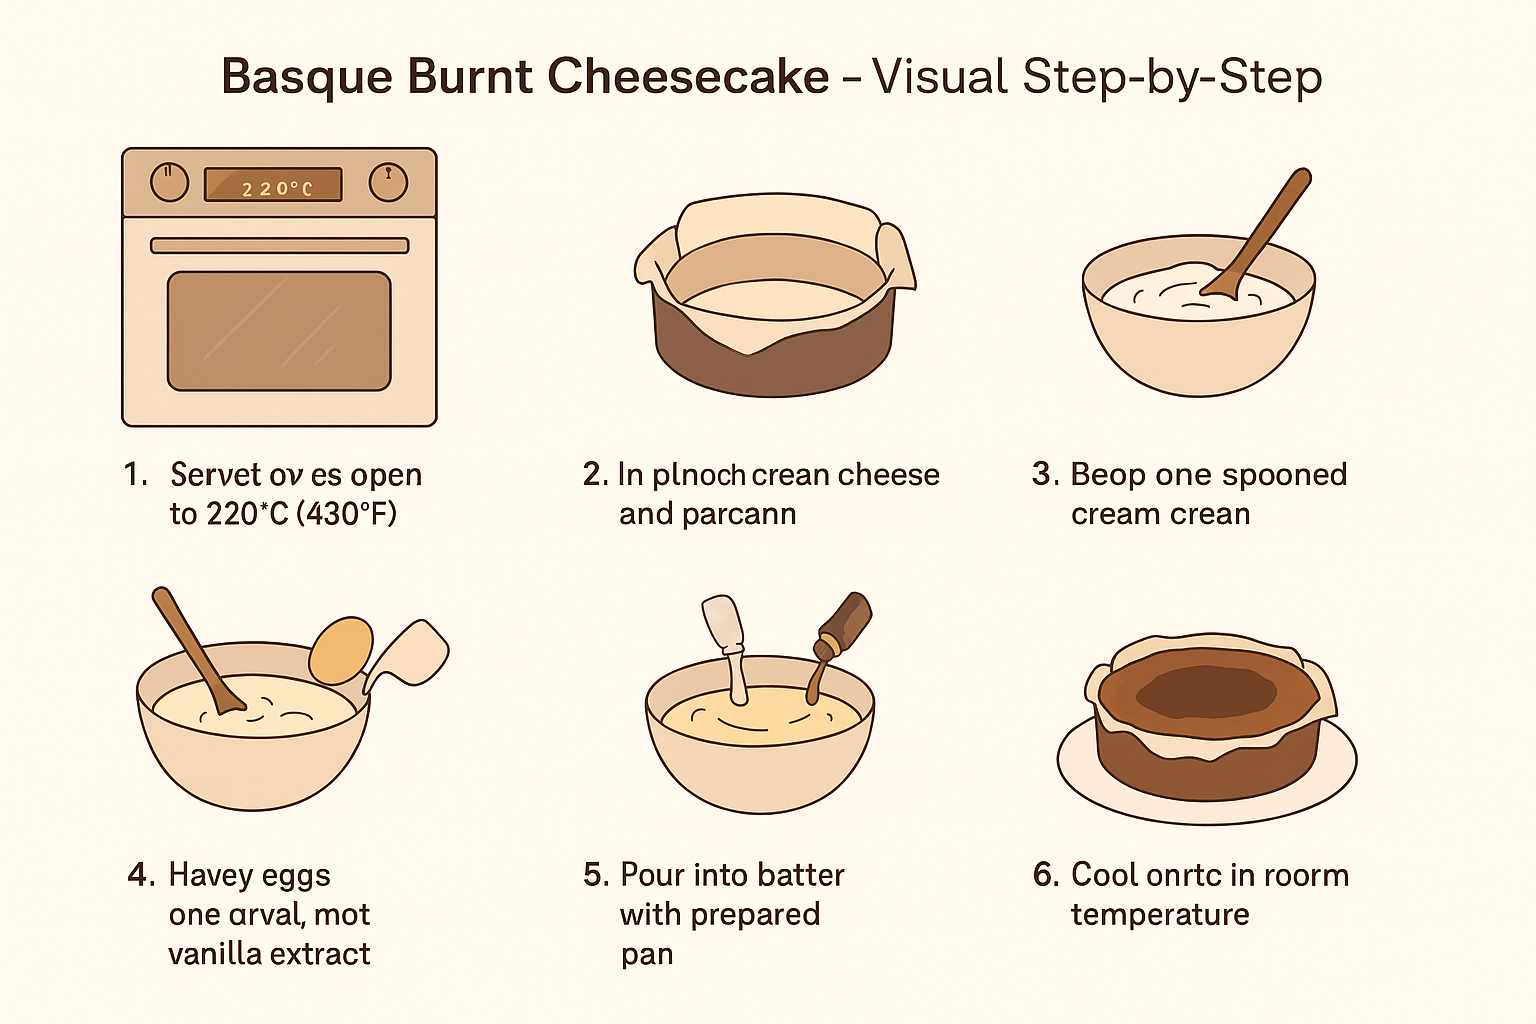
Step 1: Prepare the Oven
- Preheat your oven to 220°C (430°F).
Line an 8-inch cake pan with parchment paper, allowing plenty of overhang around the edges. The paper will create the cheesecake’s iconic rustic appearance.
Step 2: Beat the Cream Cheese and Sugar
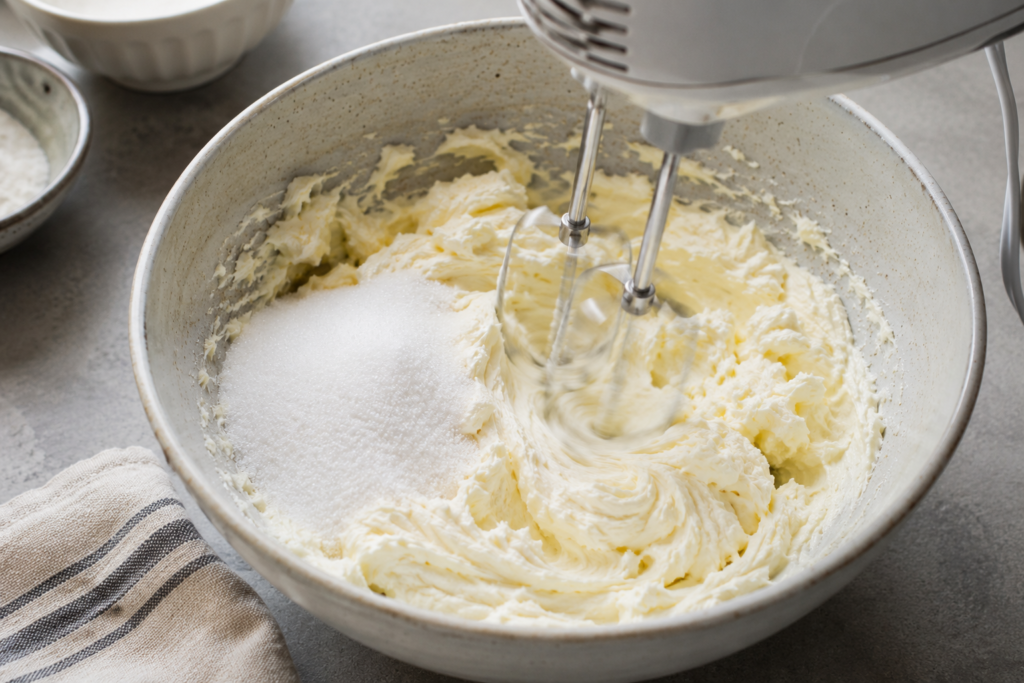
- In a large mixing bowl, beat the softened cream cheese and granulated sugar until smooth, creamy, and fluffy.
Pro Tip: Make sure your cream cheese is at room temperature to avoid lumps.
Step 3: Add the Eggs
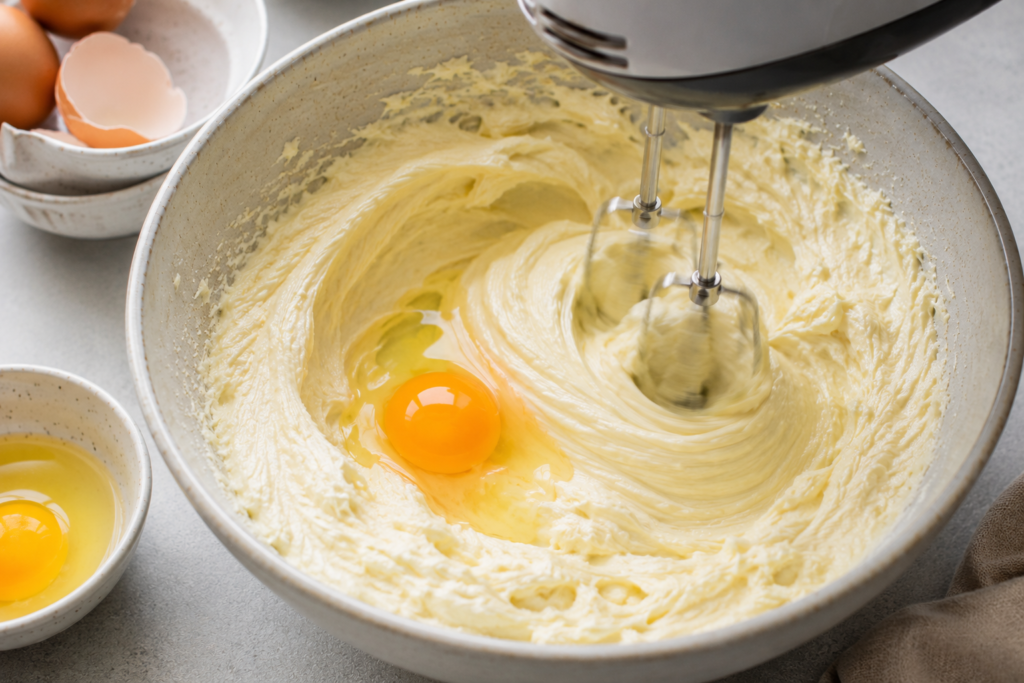
- Add the eggs one at a time, mixing continuously after each addition.
This gradual process helps create a silky, smooth batter.
Step 4: Add Remaining Ingredients
- Pour in the heavy cream, vanilla extract, flour, and salt.
- Whisk until the batter is fully combined and smooth.
Avoid overmixing, as excessive air can cause cracks.
Step 5: Fill the Pan
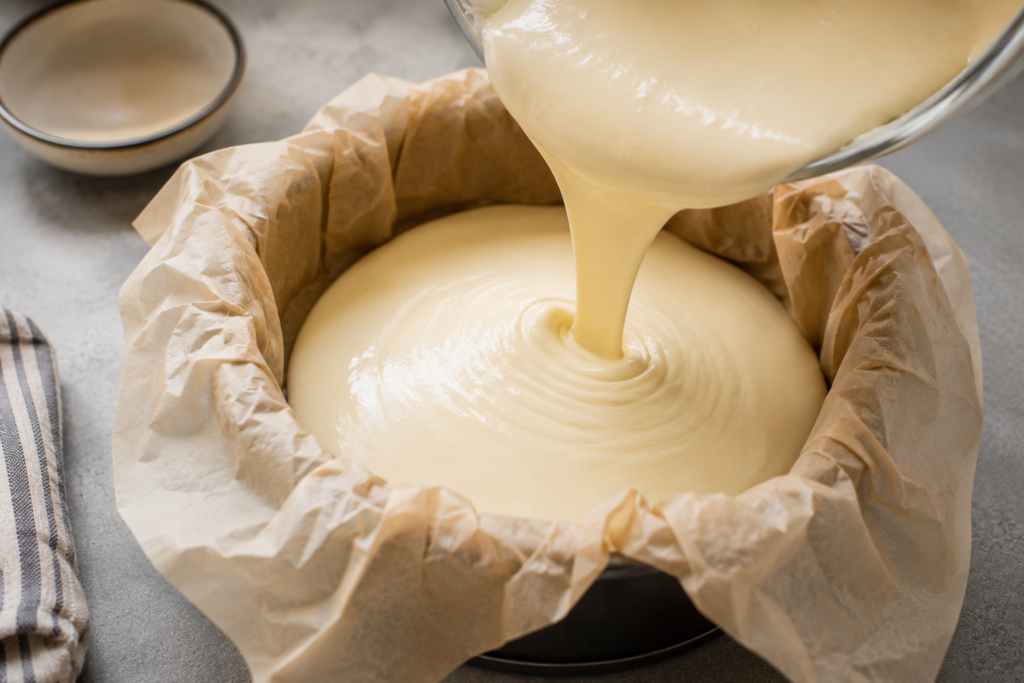
- Pour the cheesecake batter into the prepared cake pan.
- Use a spatula to smooth the top evenly.
- Gently tap the pan on the counter a few times to release any trapped air bubbles.
Step 6: Bake Until Beautifully Burnt
- Bake for 25 to 30 minutes, or until the surface becomes deeply golden brown.
The center should still jiggle slightly when you gently shake the pan. This is completely normal and ensures a creamy texture.
Step 7: Cool and Chill
- Allow the cheesecake to cool completely at room temperature.
- Transfer it to the refrigerator and chill for at least 4 hours, preferably overnight.
Chilling allows the flavors to develop and creates the perfect creamy consistency.
Pro Tips
- Always use room-temperature ingredients.
- Do not overbake. A slightly jiggly center is ideal.
- Chill overnight for the best texture and flavor.
- Use full-fat cream cheese for maximum richness.
- Line the pan generously with parchment paper for easy removal.
- Let the cheesecake sit at room temperature for 15 minutes before serving.
Variations
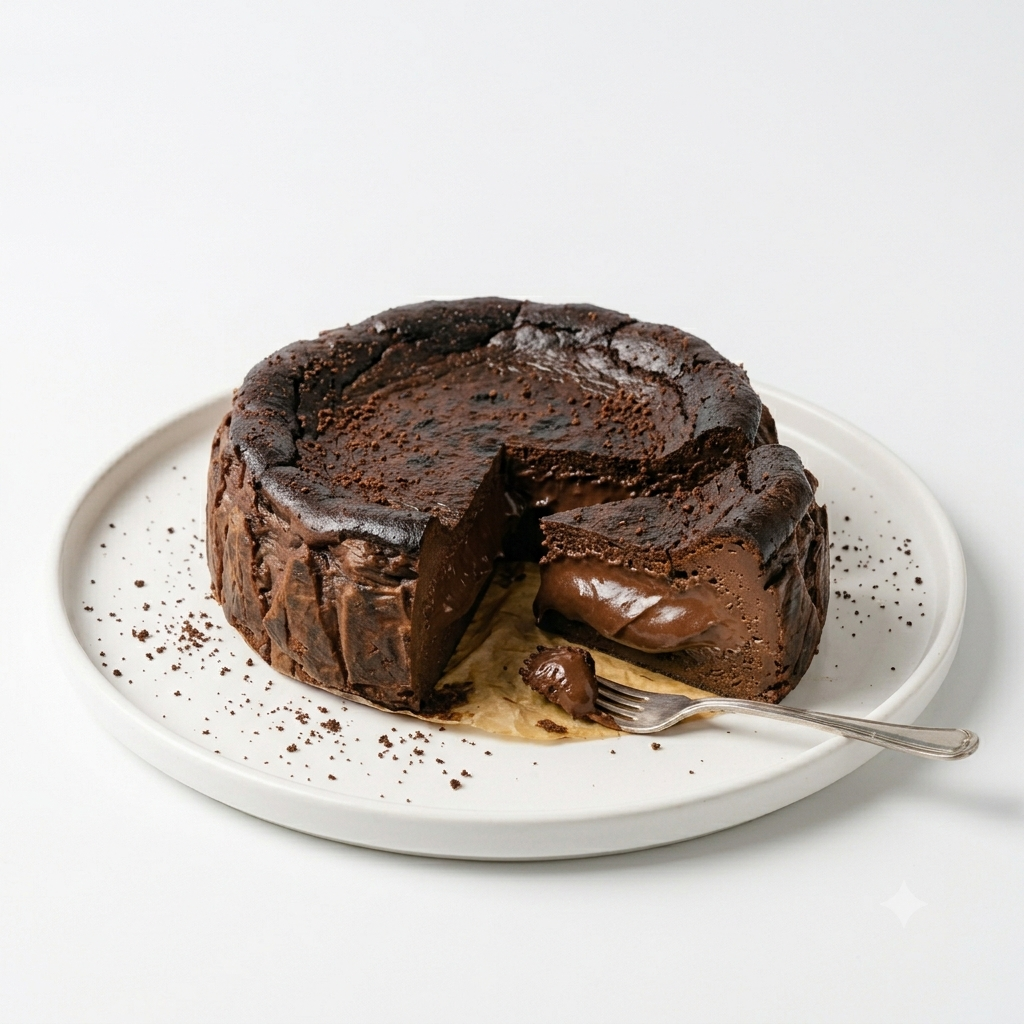
- Chocolate Basque Burnt Cheesecake: Add 100 g melted dark chocolate to the batter for a decadent twist.
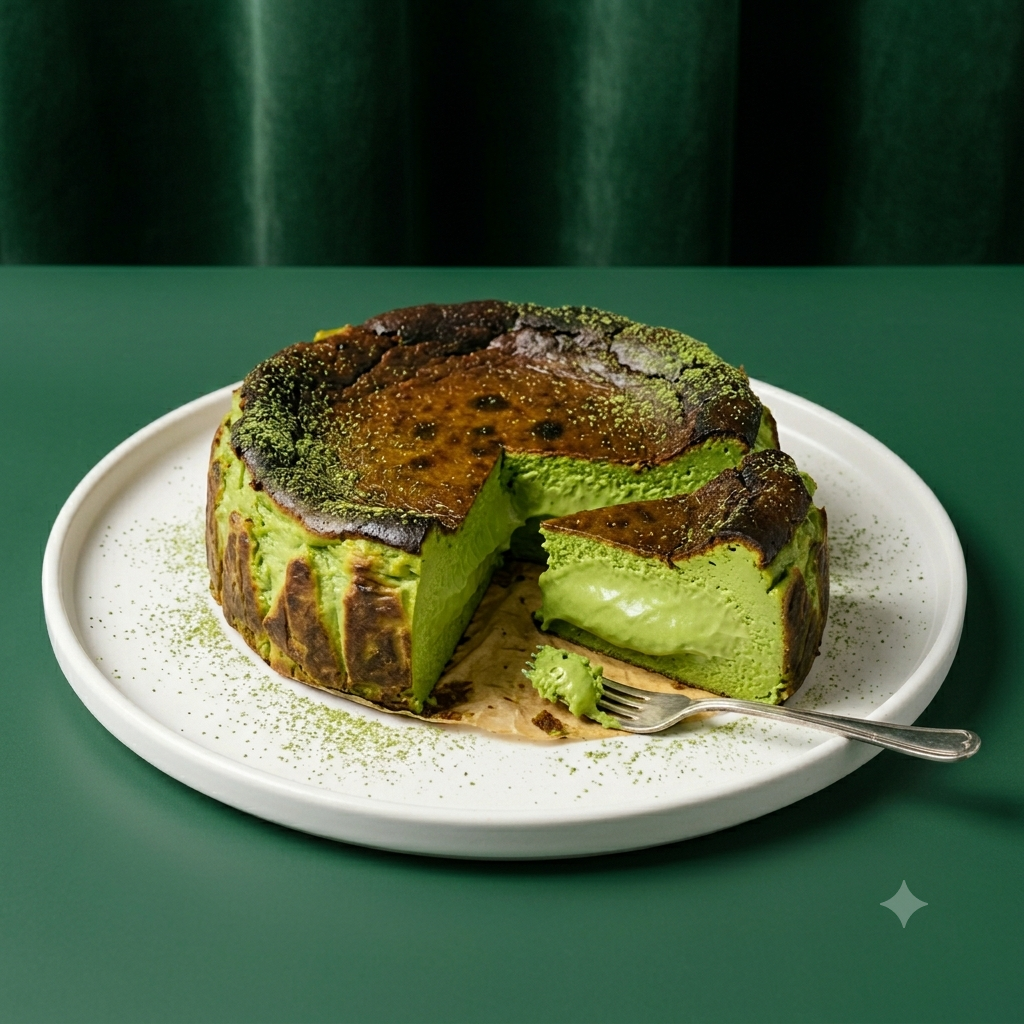
- Matcha Basque Cheesecake: Whisk in 1 tablespoon of matcha powder for a vibrant Japanese-inspired dessert.
- Citrus Cheesecake: Add lemon or orange zest to brighten the rich flavors.
- Mini Basque Cheesecakes: Bake the batter in muffin tins for individual servings.
Serving Suggestions
Basque Burnt Cheesecake is delicious on its own, but you can also serve it with:
- Fresh berries
- Strawberry compote
- Caramel sauce
- Whipped cream
- Dusting of powdered sugar
- Espresso or coffee
For me, whipped cream can never go wrong, especially when paired with cheesecake. The light, creamy texture perfectly complements the rich and velvety cheesecake, creating a balance of flavors that’s hard to resist. Honestly, they feel like a match made in dessert heaven.
Nutrition Value
Per Serving (Approximate)
| Nutrient | Amount |
|---|---|
| Calories | 430 kcal |
| Carbohydrates | 26 g |
| Protein | 7 g |
| Fat | 33 g |
| Saturated Fat | 20 g |
| Cholesterol | 160 mg |
| Sodium | 240 mg |
| Sugar | 23 g |
Nutrition values are estimates and may vary depending on ingredients used.
FAQs
Why is my Basque cheesecake still jiggly?
A slightly jiggly center is normal. The cheesecake continues to set as it cools and chills.
Can I make Basque Burnt Cheesecake ahead of time?
Yes. In fact, it tastes even better after chilling overnight.
Can I freeze Basque Burnt Cheesecake?
Absolutely. Wrap individual slices tightly and freeze for up to 2 months.
Why didn’t my cheesecake brown enough?
Your oven temperature may be too low. Basque cheesecake requires high heat to achieve its signature burnt top.
Do I need a water bath?
No. One of the best things about this recipe is that no water bath is required.
Common Mistakes
- Using Cold Ingredients: Cold cream cheese often creates a lumpy batter.
- Overbaking: Overbaking results in a dense, dry cheesecake.
- Removing Too Early: Always allow the cheesecake to cool completely before refrigerating.
- Skipping the Chill Time: Chilling is essential for achieving the proper texture.
How to Store
- Refrigerator: Store covered in the refrigerator for up to 5 days.
- Freezer: Wrap slices individually and freeze for up to 2 months.
Thaw overnight in the refrigerator before serving.
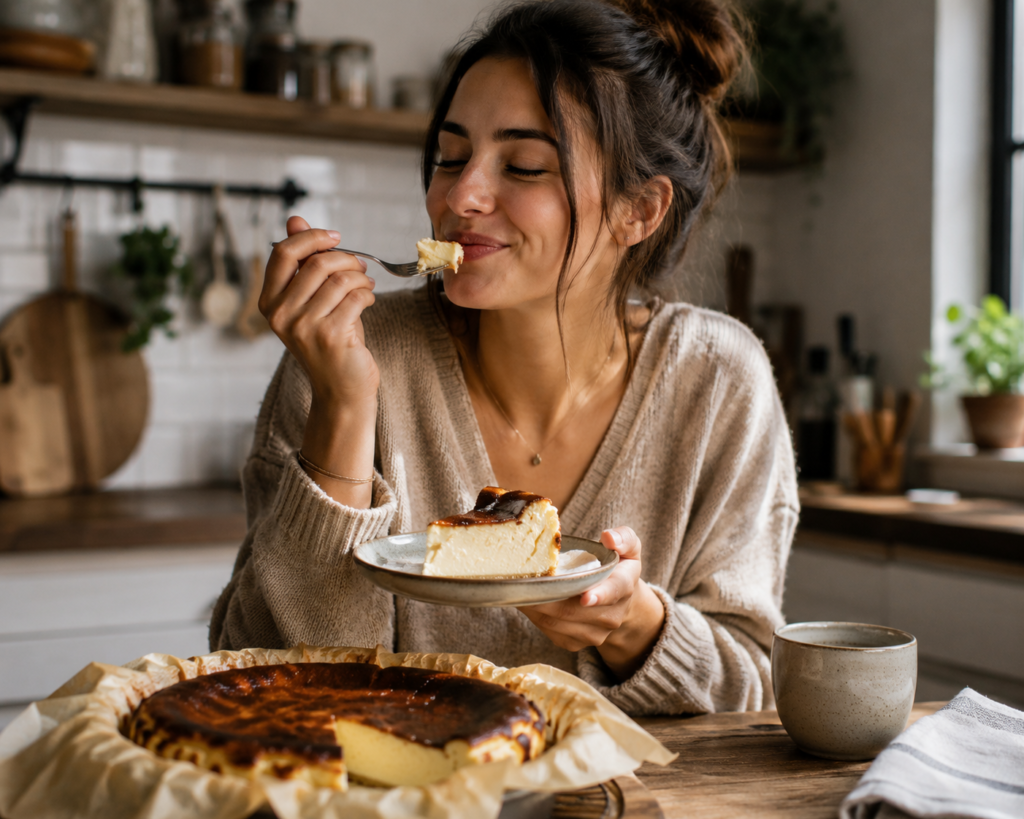
Final Thoughts
Basque Burnt Cheesecake proves that sometimes imperfections create the most beautiful desserts. Its rustic appearance, deeply caramelized flavor, and luxuriously creamy center have earned its place as one of the world’s most beloved viral desserts.
Whether you’re an experienced baker or trying cheesecake for the very first time, this recipe is almost guaranteed to impress.
Give it a try, and don’t be surprised if it becomes your new favorite dessert.
Did You Make This Recipe?
I’d love to hear how your Basque Burnt Cheesecake turned out! Leave a comment below, share your photos, and tag your friends who need to try this viral dessert. If you enjoyed this recipe, don’t forget to save and share it on Pinterest or social media.
Asian bread Breakfast cake Cheese Cold Dessert Detox Diet Dinner Drinks Easy food Halal Healthy homemade hot Indonesian Italian Japanese K-Food Low Calory Meal Noodle Omelette Pasta Popular Ramen Simple snacks Soup Street Food Sweet Thai Tiktok viral