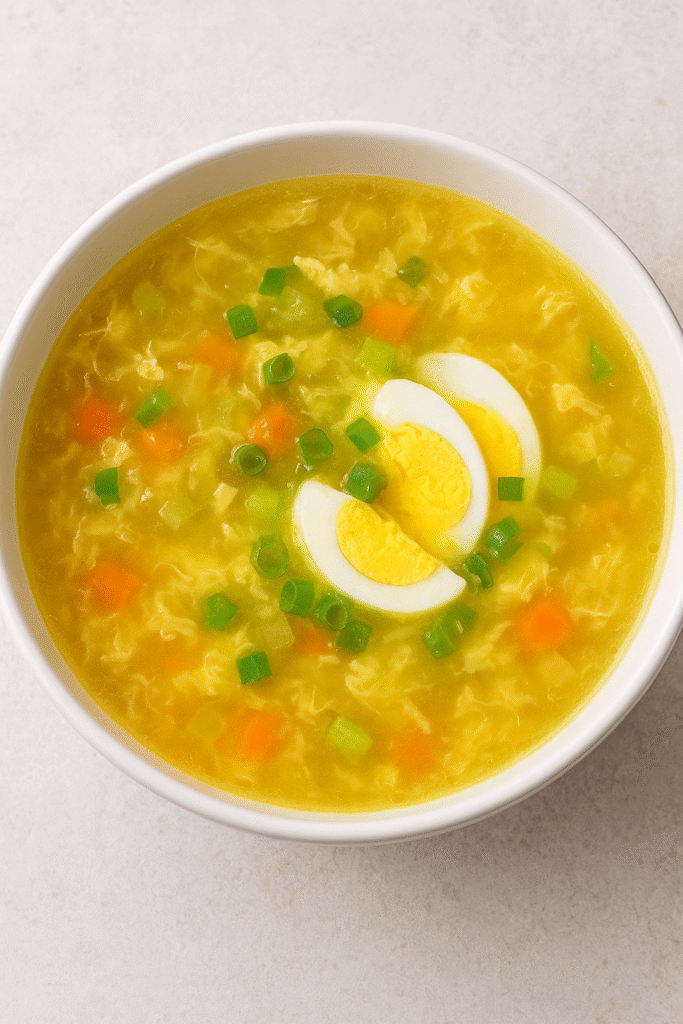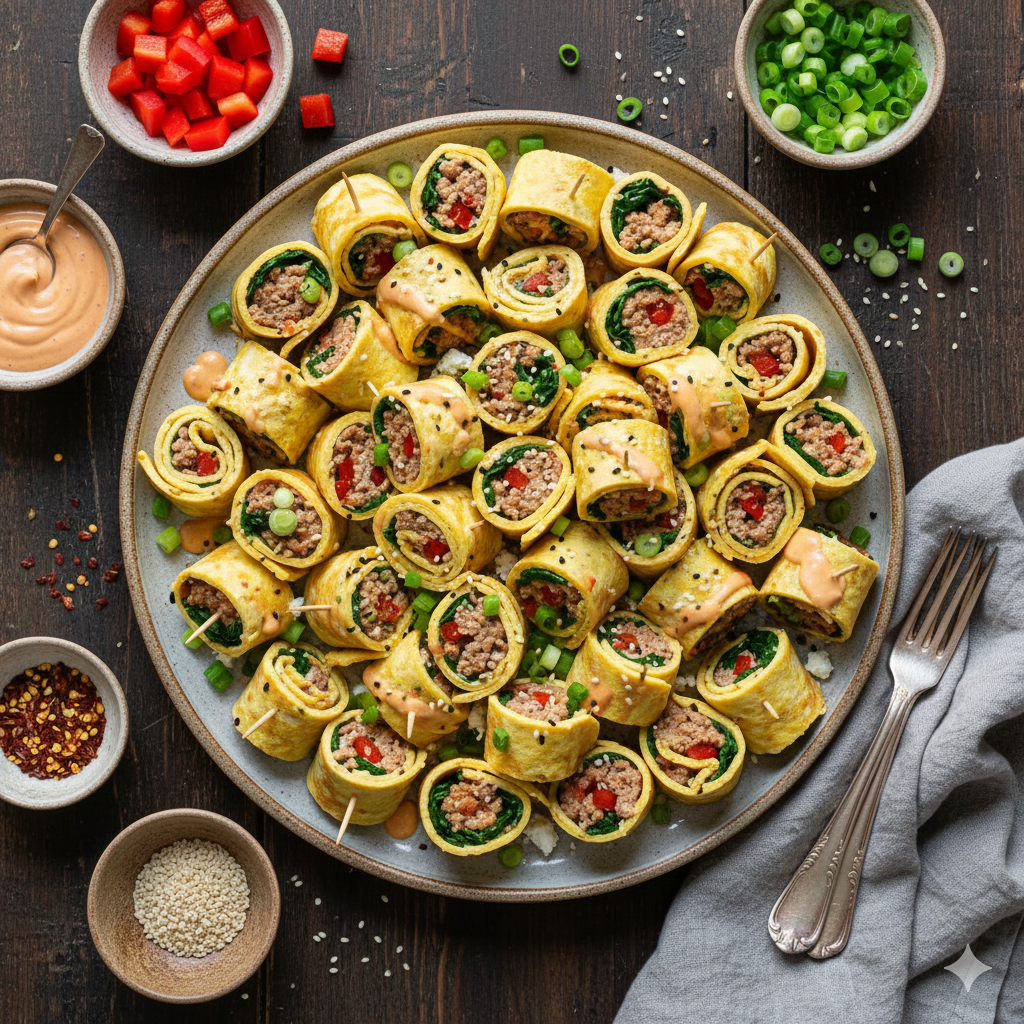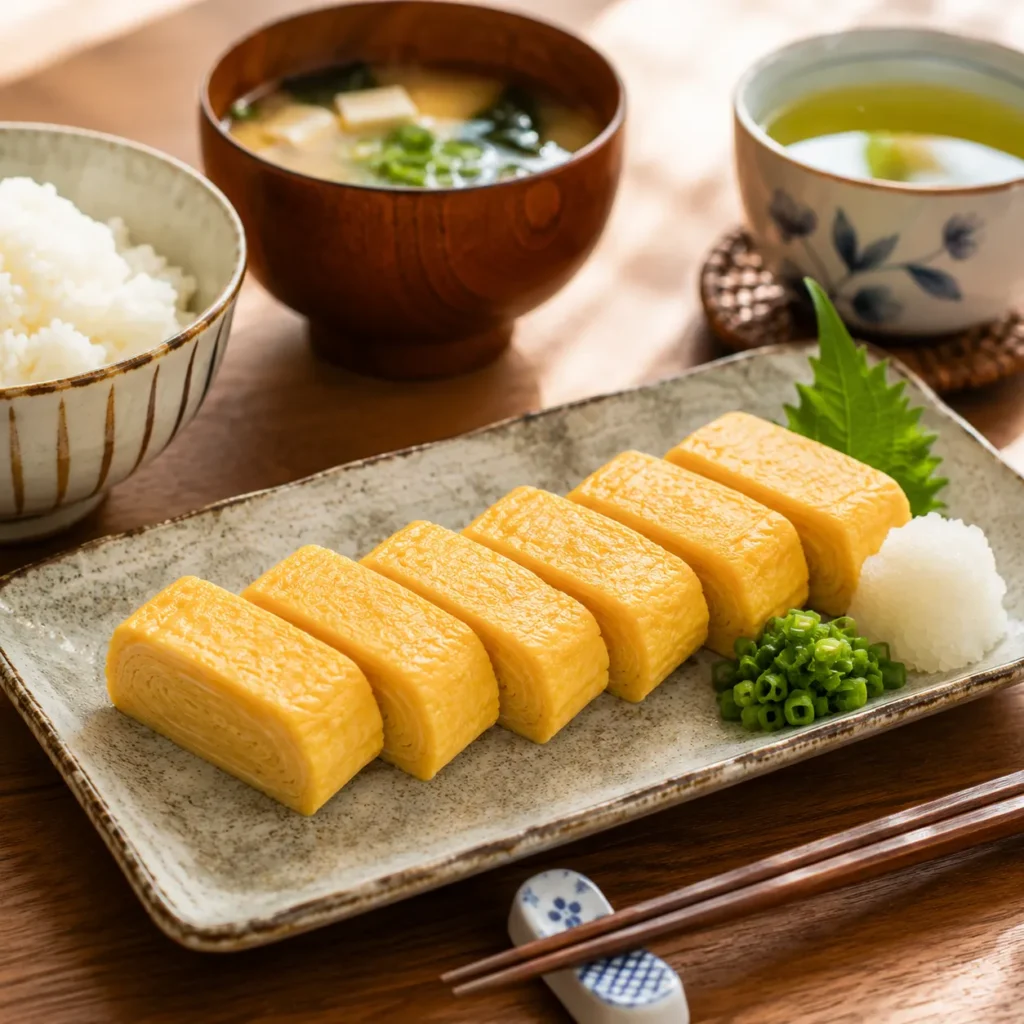
Golden, soft, slightly sweet, and beautifully layered, Tamagoyaki proves that even a few humble eggs can become something truly special. This classic Japanese rolled omelet is one of those recipes that looks impressive but is surprisingly easy once you know the technique. Whether you’re making breakfast for yourself or preparing a colorful bento box, this simple recipe delivers delicious results with minimal ingredients.
I’ve always enjoyed Japanese recipes because they’re simple to follow and focus on balance. Many Japanese dishes are made with fresh ingredients and thoughtfully combine protein, vegetables, and carbohydrates into one satisfying meal. I also love how beautifully they’re presented. The clean, elegant appearance makes every dish feel special, and the delicious flavors keep me coming back. That’s why Japanese cuisine has become one of my all-time favorites.
What is Tamagoyaki?
Tamagoyaki (卵焼き), which literally means “grilled egg,” is a traditional Japanese rolled omelet made by cooking several thin layers of seasoned egg and gently rolling them together into a neat log. Unlike a regular omelet, Tamagoyaki has delicate layers that create a soft, tender texture with every bite.
Its flavor is lightly savory with a subtle sweetness, although recipes vary across Japan. Some regions prefer a sweeter version, while others emphasize the rich umami flavor from dashi stock. Either way, Tamagoyaki remains one of Japan’s most beloved comfort foods.
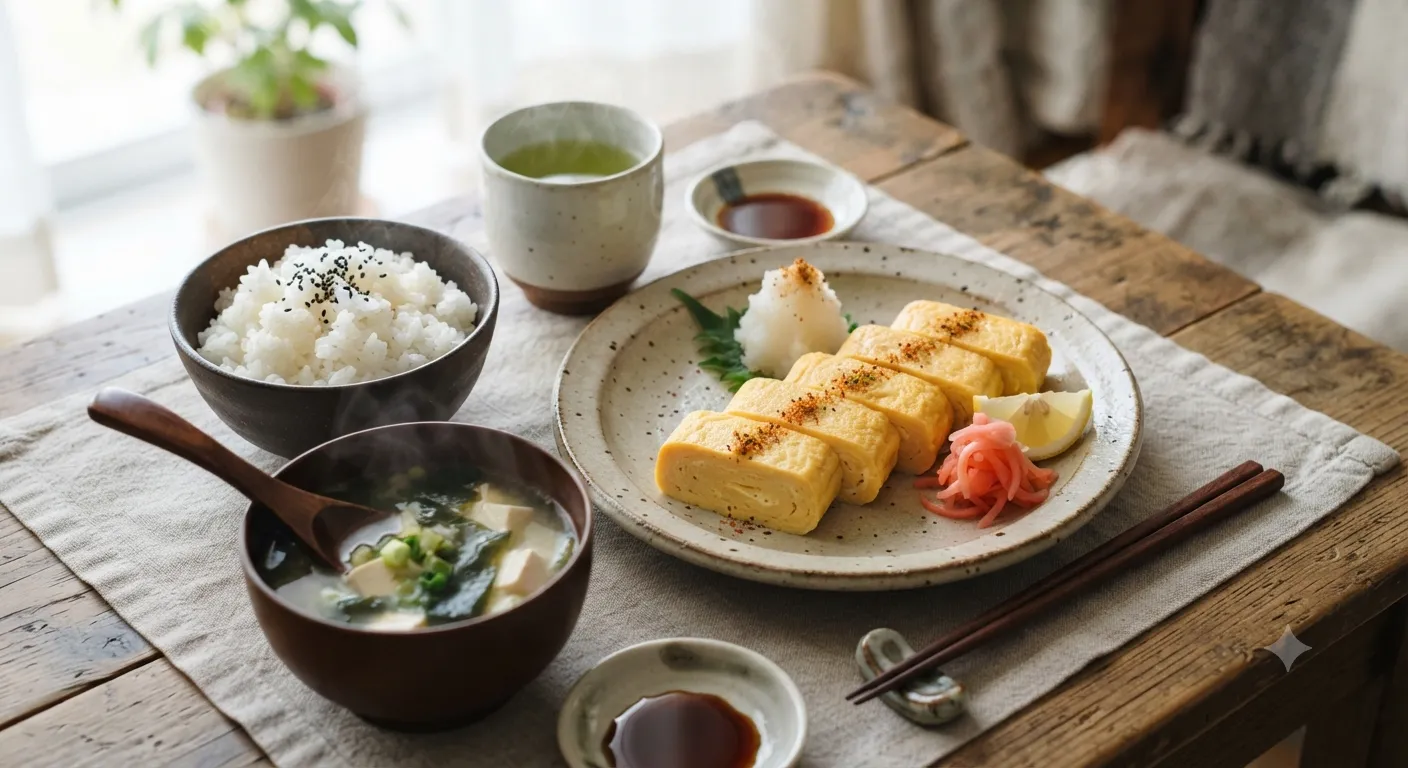
You’ll often find it served as part of a Japanese breakfast alongside steamed rice, miso soup, grilled fish, and pickled vegetables. It’s also a popular addition to bento lunch boxes because it stays delicious even after cooling. Thanks to its simple ingredients and beginner-friendly technique, Tamagoyaki has become popular with home cooks around the world.
Why You Should Try This Recipe
If you’ve never made Tamagoyaki before, this recipe is an excellent place to start. It requires only a handful of pantry staples, yet the finished dish looks elegant enough to serve to family or guests.
Here are a few reasons why it’s worth trying:
- Beginner-friendly with easy-to-follow steps.
- Ready in about 15 minutes.
- Uses inexpensive everyday ingredients.
- Perfect for breakfast, lunch, or meal prep.
- Naturally high in protein.
- Kid-friendly thanks to its soft texture.
- Easy to customize with different seasonings.
- Great for Japanese bento boxes.
Whether you’re exploring Japanese cuisine for the first time or simply looking for a new egg recipe, Tamagoyaki is a rewarding dish that’s both simple and satisfying.
Why You’ll Love This Recipe
- Soft and fluffy texture
- Beautiful golden layers
- Authentic Japanese flavor
- Easy enough for beginners
- High-protein breakfast option
- Budget-friendly ingredients
- Perfect for meal prep
- Delicious warm or cold
- Ready in less than 20 minutes
- Easy to customize
Ingredients
Main Ingredients
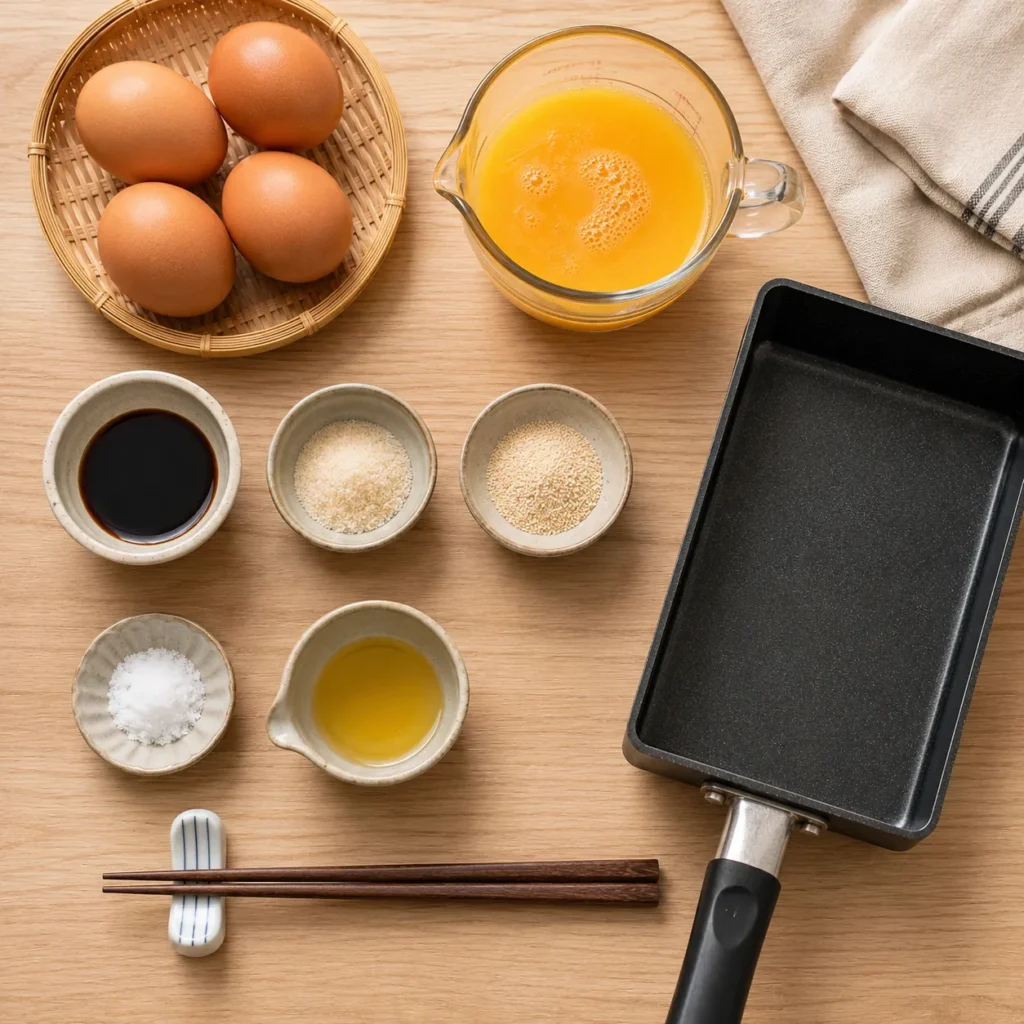
- 4 large eggs
- 1 tablespoon soy sauce
- 1-2 teaspoons sugar (optional)
- 1 teaspoon dashi powder or dashi stock (optional)
- A pinch of salt
- Neutral cooking oil for greasing the pan
Optional Add-ins
- Chopped green onions
- White sesame seeds
- Shredded nori
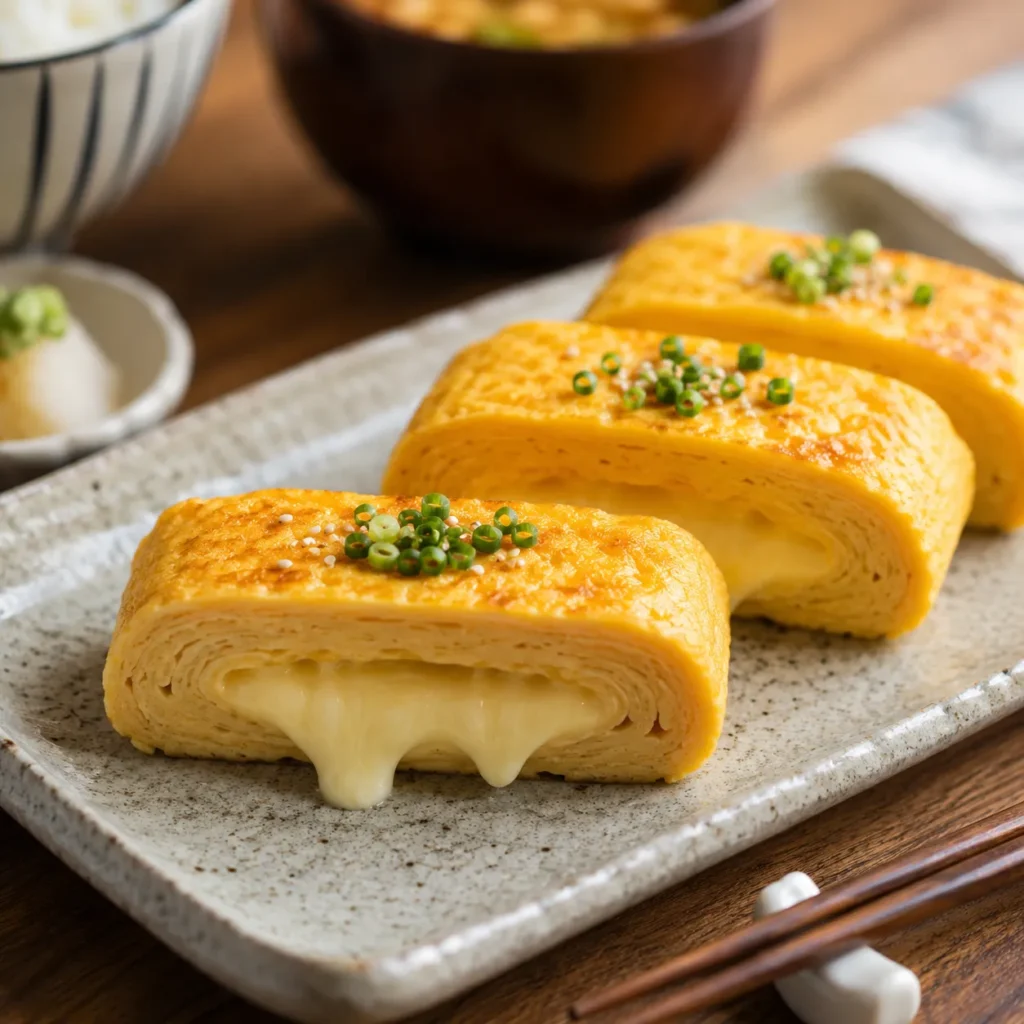
- Cheese
- Cooked crab sticks
Tools
- Rectangular Tamagoyaki pan (Makiyakinabe)
- Mixing bowl
- Chopsticks or whisk
- Silicone spatula
- Oil brush or folded paper towel
- Sharp knife
- Cutting board
How To Make it Step by Step
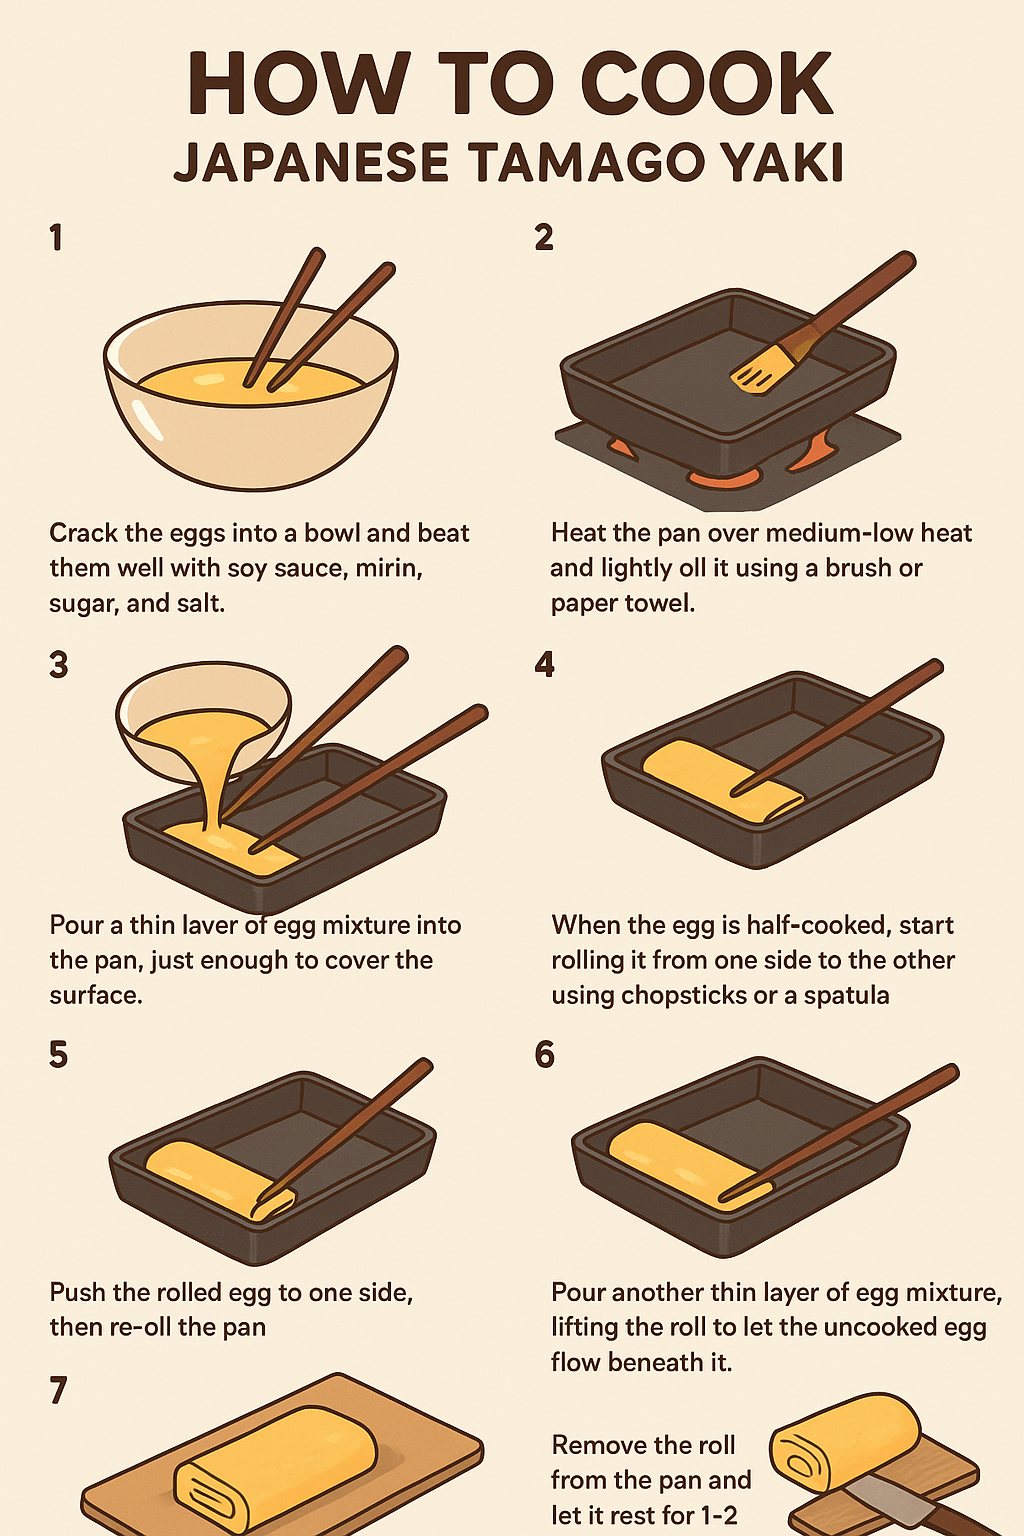
Step 1: Prepare the Egg Mixture
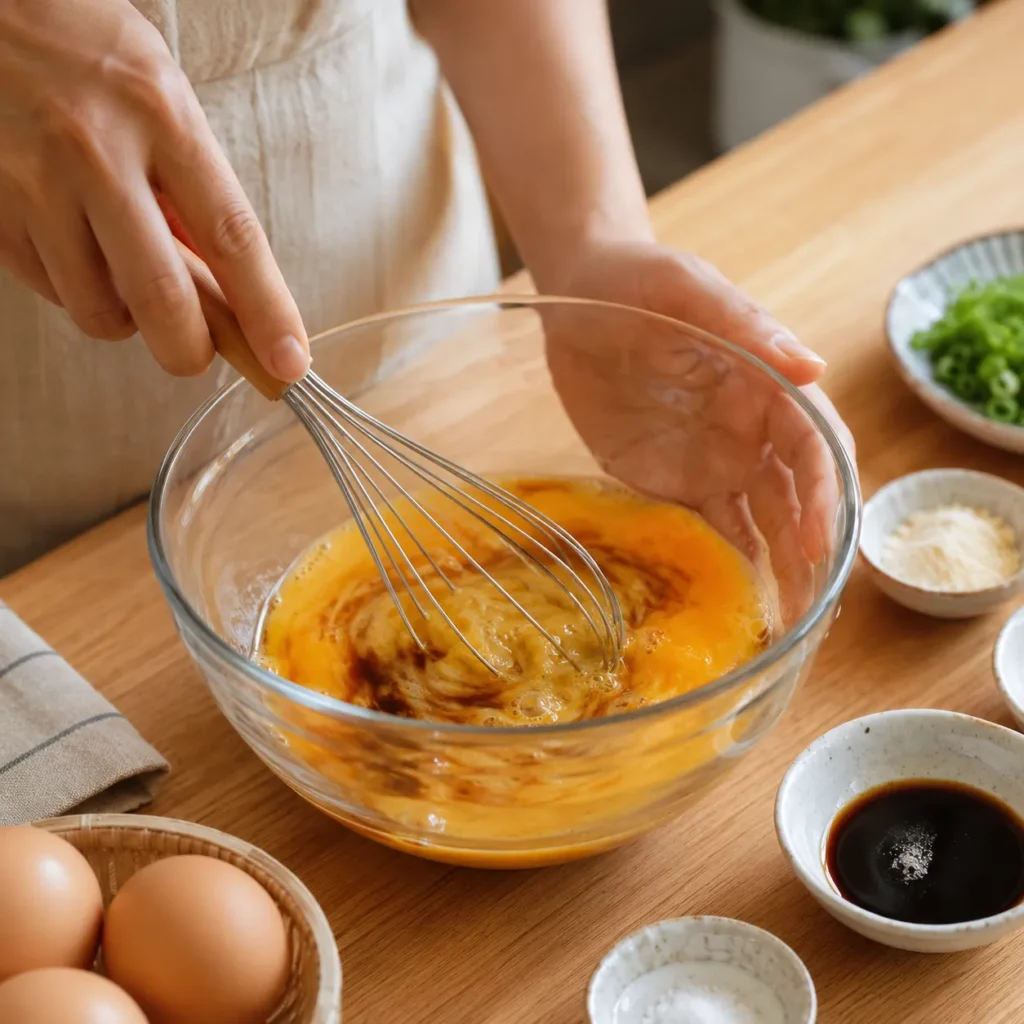
- Beat the eggs gently until the yolks and whites are fully combined.
- Stir in the soy sauce, salt, optional sugar, and dashi until everything is evenly mixed.
Avoid whisking too vigorously, as too many air bubbles can create an uneven texture.
Step 2: Heat and Oil the Pan
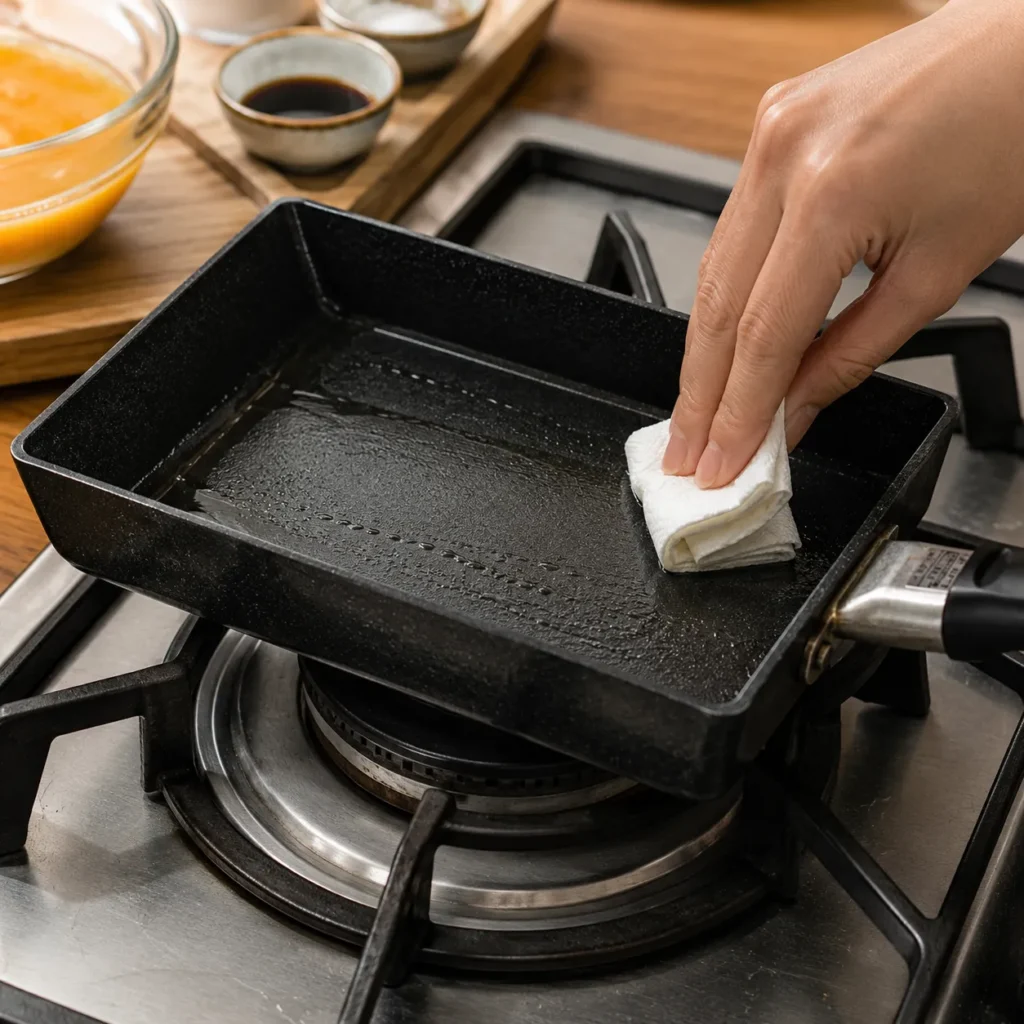
- Place your Tamagoyaki pan over medium-low heat.
- Once warm, lightly coat the surface with oil using a brush or folded paper towel.
A thin coating prevents sticking while keeping the omelet tender.
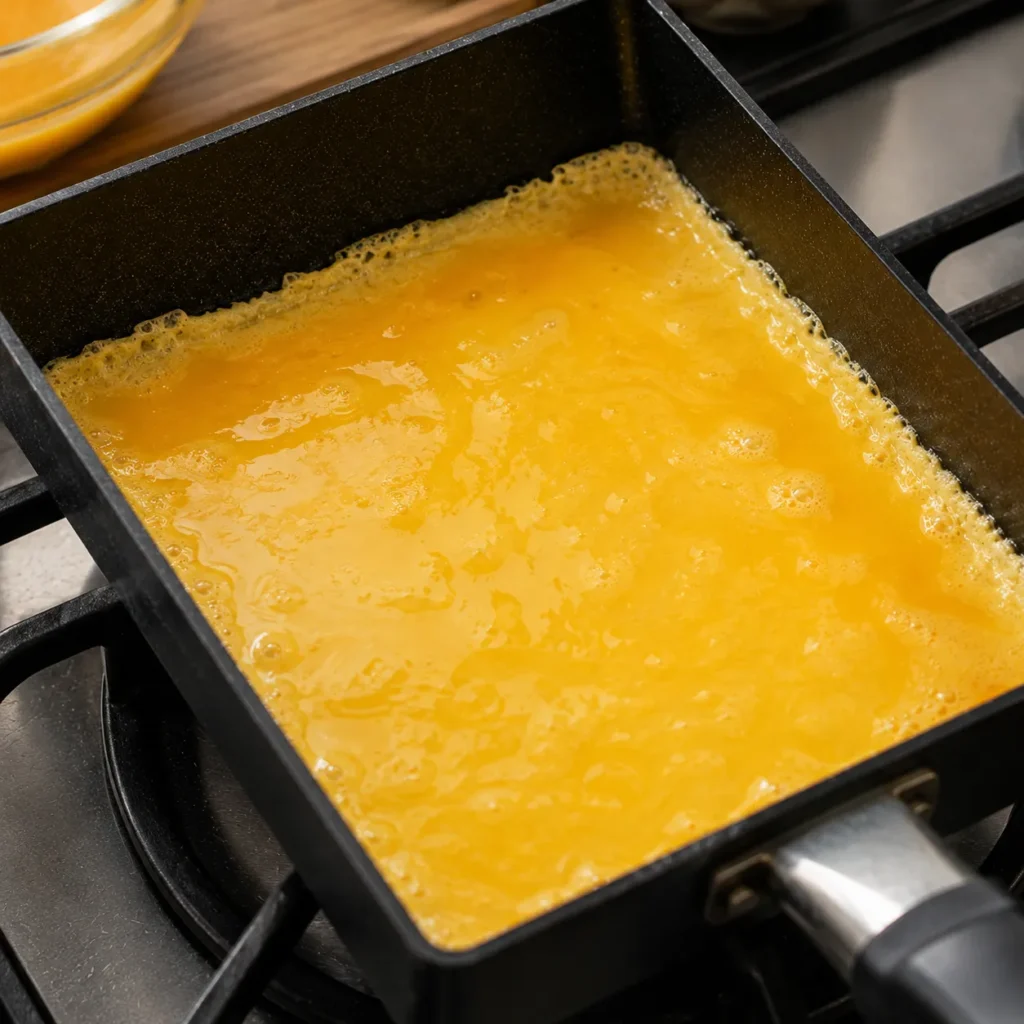
Step 3: Cook the First Layer
- Pour a thin layer of egg mixture into the pan, just enough to cover the bottom evenly.
- Tilt the pan if necessary so the egg spreads into every corner.
As soon as the egg begins to set but is still slightly wet on top, it’s ready for rolling.
Step 4: Roll the Egg
- Using chopsticks or a spatula, carefully roll the cooked egg from one end of the pan toward the other.
Don’t worry if your first roll isn’t perfect because the later layers will smooth out the shape.
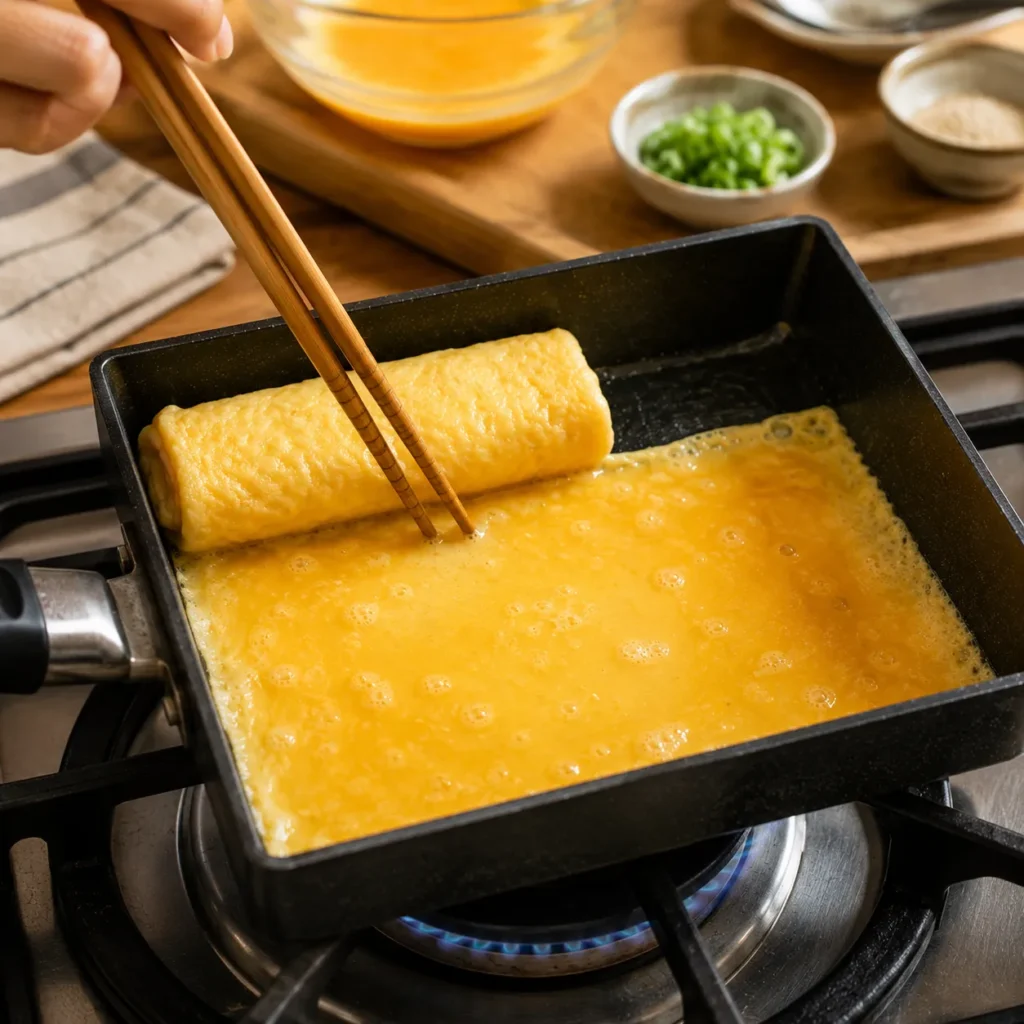
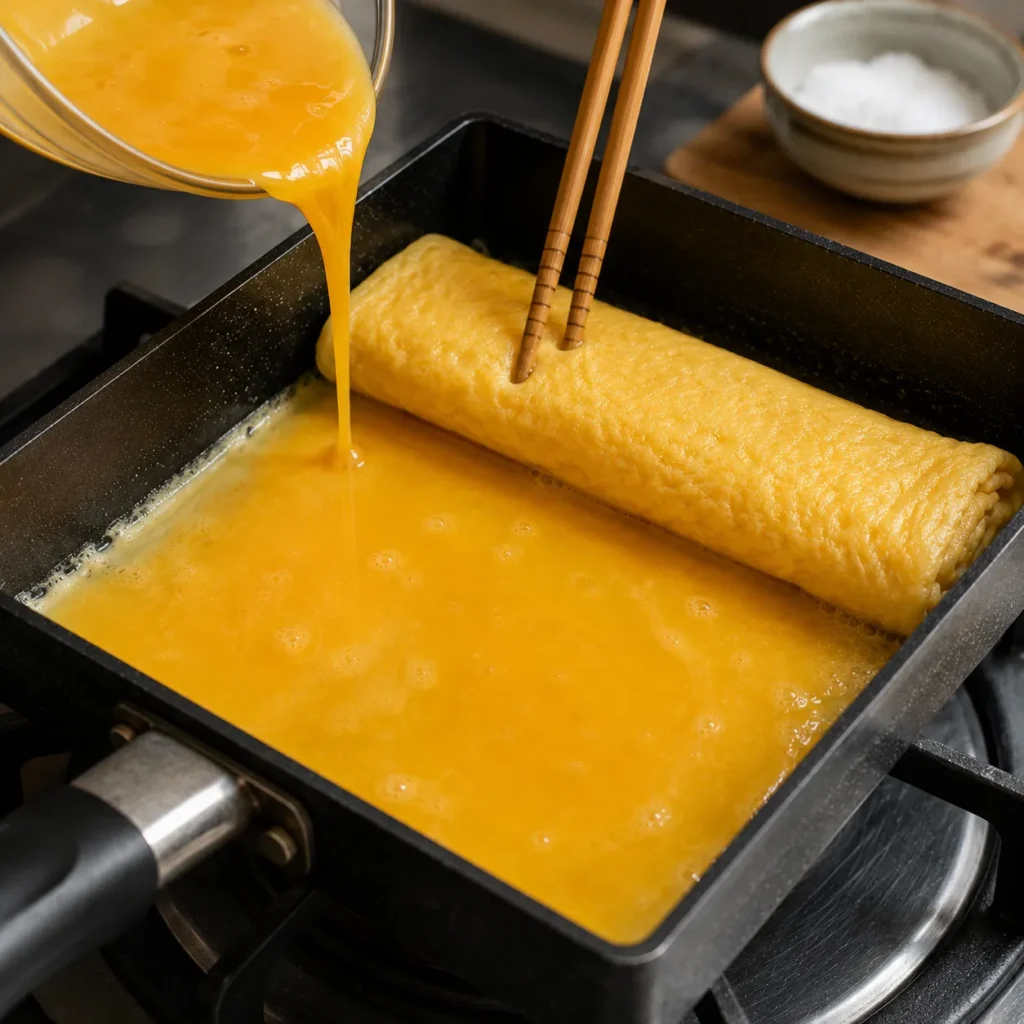
Step 5: Add Another Layer
- Move the rolled egg to one side of the pan and lightly oil any exposed surface.
- Pour another thin layer of egg mixture underneath the roll, lifting it slightly so the fresh egg flows beneath.
- Once the new layer begins to cook, roll everything together again.
- Continue adding thin layers and rolling until you’ve used all the egg mixture.
- Building multiple layers creates the signature striped appearance inside the omelet.
Step 6: Rest and Slice
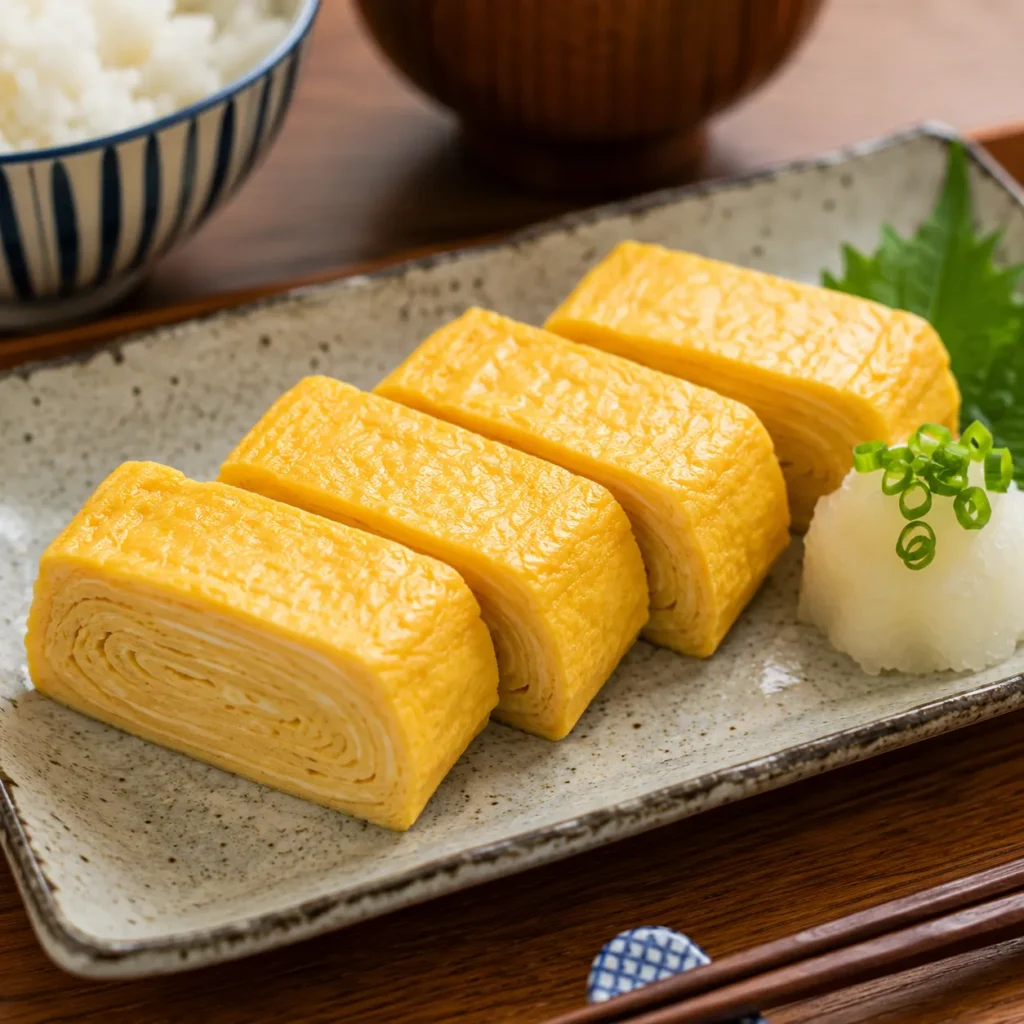
- Transfer the finished Tamagoyaki to a cutting board and allow it to rest for one to two minutes. This helps the layers settle and makes slicing much cleaner.
- Slice into bite-sized pieces and serve warm or at room temperature.
Pro Tips
- Keep the heat on medium-low for even cooking.
- Use thin egg layers instead of thick pours.
- Oil the pan lightly before every new layer.
- Don’t rush the rolling process.
- Wipe excess oil away to avoid greasy eggs.
- A rectangular pan creates the most authentic shape, but a small nonstick skillet also works.
- Practice makes perfect. Your second Tamagoyaki will almost always look better than your first.
Variations
- Classic Japanese Tamagoyaki: Traditional sweet-savory flavor.
- Extra Umami: Add additional dashi for deeper flavor.
- Cheese Tamagoyaki: Place shredded mozzarella or cheddar between the layers.
- Green Onion Tamagoyaki: Mix chopped scallions into the egg mixture.
- Nori Tamagoyaki: Add a thin sheet of roasted seaweed while rolling.
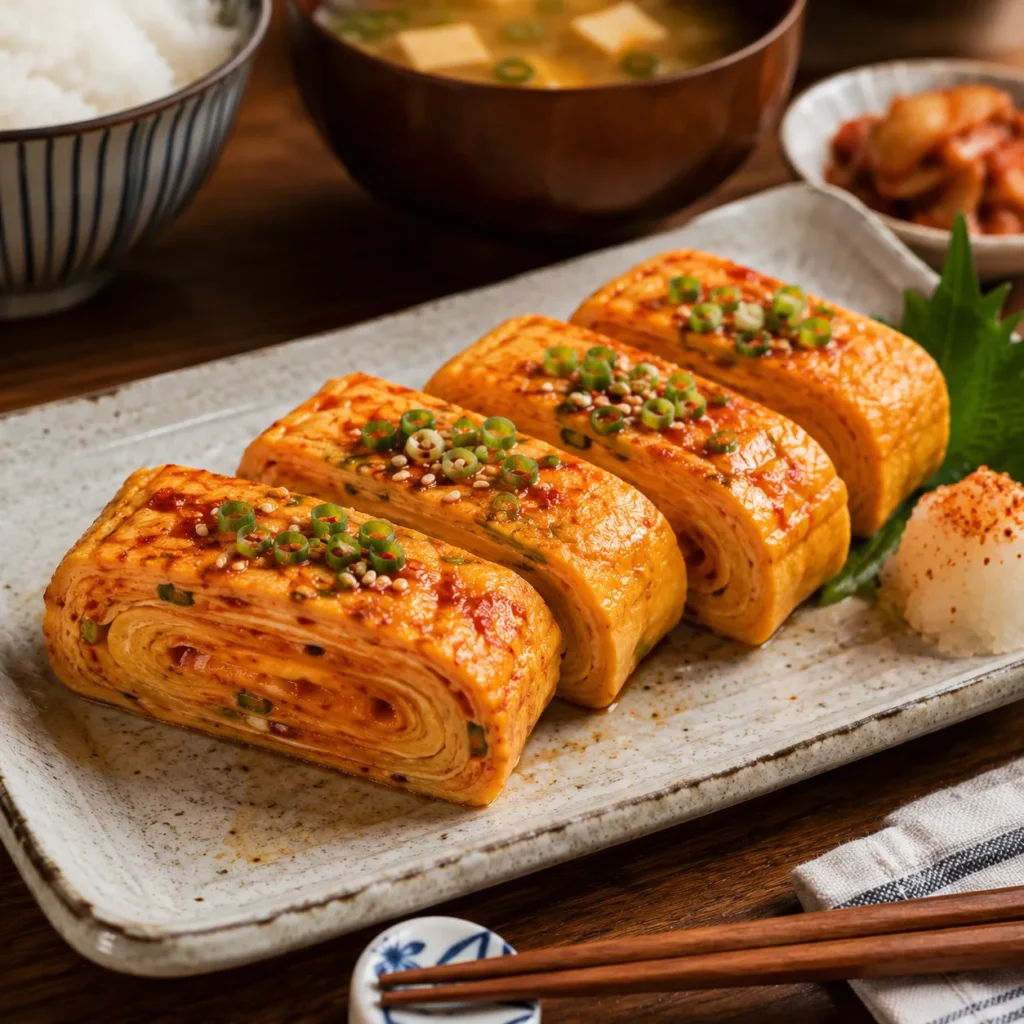
- Spicy Version: Serve with chili crisp or drizzle with spicy mayo.
Personally, I love the spicy version. The spicy mayo adds a creamy kick that pairs perfectly with the other flavors, giving the dish a little extra heat without overpowering it. It’s the kind of breakfast that wakes up my taste buds and gives me an energetic start to the morning.
Best Ways to Serve Tamagoyaki
Tamagoyaki pairs wonderfully with many dishes. Try serving it with:
- Steamed Japanese rice
- Miso soup
- Fresh fruit
- Pickled vegetables
- Green tea
- Toast for a Japanese-Western fusion breakfast
Nutrition Value
Approximate values per serving.
| Nutrient | Amount |
|---|---|
| Calories | 165 kcal |
| Protein | 12 g |
| Fat | 11 g |
| Carbohydrates | 3 g |
| Sugar | 2 g |
| Fiber | 0 g |
| Sodium | 380 mg |
Nutrition may vary depending on the ingredients and seasonings used.
FAQs
Can I make Tamagoyaki without a rectangular pan?
Yes. A small nonstick frying pan works well, although the shape will be less traditional.
Is dashi necessary?
No. It adds umami, but the recipe is still delicious without it.
Why does my egg keep breaking?
The heat may be too high, or the egg layer may have cooked for too long before rolling.
Can I use milk?
Traditional Tamagoyaki doesn’t include milk, but you can add a small amount for extra softness.
How long does it take?
Around 15 minutes from start to finish.
Common Mistakes
- Cooking over high heat.
- Pouring egg layers that are too thick.
- Forgetting to oil the pan between layers.
- Rolling after the egg has fully cooked.
- Overbeating the eggs, creating too many bubbles.
- Skipping the resting time before slicing.
How to Store
- Refrigerator: Store in an airtight container for up to 3 days.
- Freezer: Wrap tightly and freeze for up to 1 month. Thaw overnight before reheating.
- Reheating: Warm gently in the microwave for 20 to 30 seconds, or enjoy it cold as part of a bento lunch.

Final Thoughts
Tamagoyaki is one of those recipes that reminds us great cooking doesn’t have to be complicated. With just a few everyday ingredients and a little patience, you can create a breakfast that’s beautiful, comforting, and full of authentic Japanese flavor. Even if your first roll isn’t picture-perfect, every attempt helps you master the technique, and the taste is delicious either way.
My favorite way to enjoy tamagoyaki is with a bowl of warm steamed rice and either a comforting meat soup or a simple bowl of miso soup. When I’m craving something a little bolder, I’ll serve it alongside Japanese curry on the same plate with rice. No matter how I pair it, tamagoyaki always makes the meal feel satisfying and complete.
Have you tried making this easy Tamagoyaki recipe? I’d love to hear how it turned out! Leave a comment below with your favorite variation or cooking tip. If you enjoyed this recipe, don’t forget to share it with your friends and save it on Pinterest so you can make it again anytime.
Asian bread Breakfast cake Cheese Cold Dessert Detox Diet Dinner Drinks Easy food Halal Healthy homemade hot Indonesian Italian Japanese K-Food Low Calory Meal Noodle Omelette Pasta Popular Ramen Simple snacks Soup Street Food Sweet Thai Tiktok viral